HRIS Admin Modules
This book outlines the available modules accessible to users with the HRIS Admin role, along with detailed instructions on how to use each one. It provides a clear overview of the features and functionalities that HRIS Admins can manage, such as employee records, leave approvals, user access, and system settings. Each module is explained in a way that helps administrators understand their purpose and how to navigate and operate them effectively. The goal is to guide HRIS Admins in using the system efficiently and confidently, ensuring proper handling of HR-related tasks within the organization.
Leaves Overview
This section provides a clear and complete guide on how to access all employee's Leaves Overview as a HRIS Admin, outlining the steps and responsibilities involved.
To access the Leaves Overview page:
-
On your Dashboard, click Leaves Overview panel.

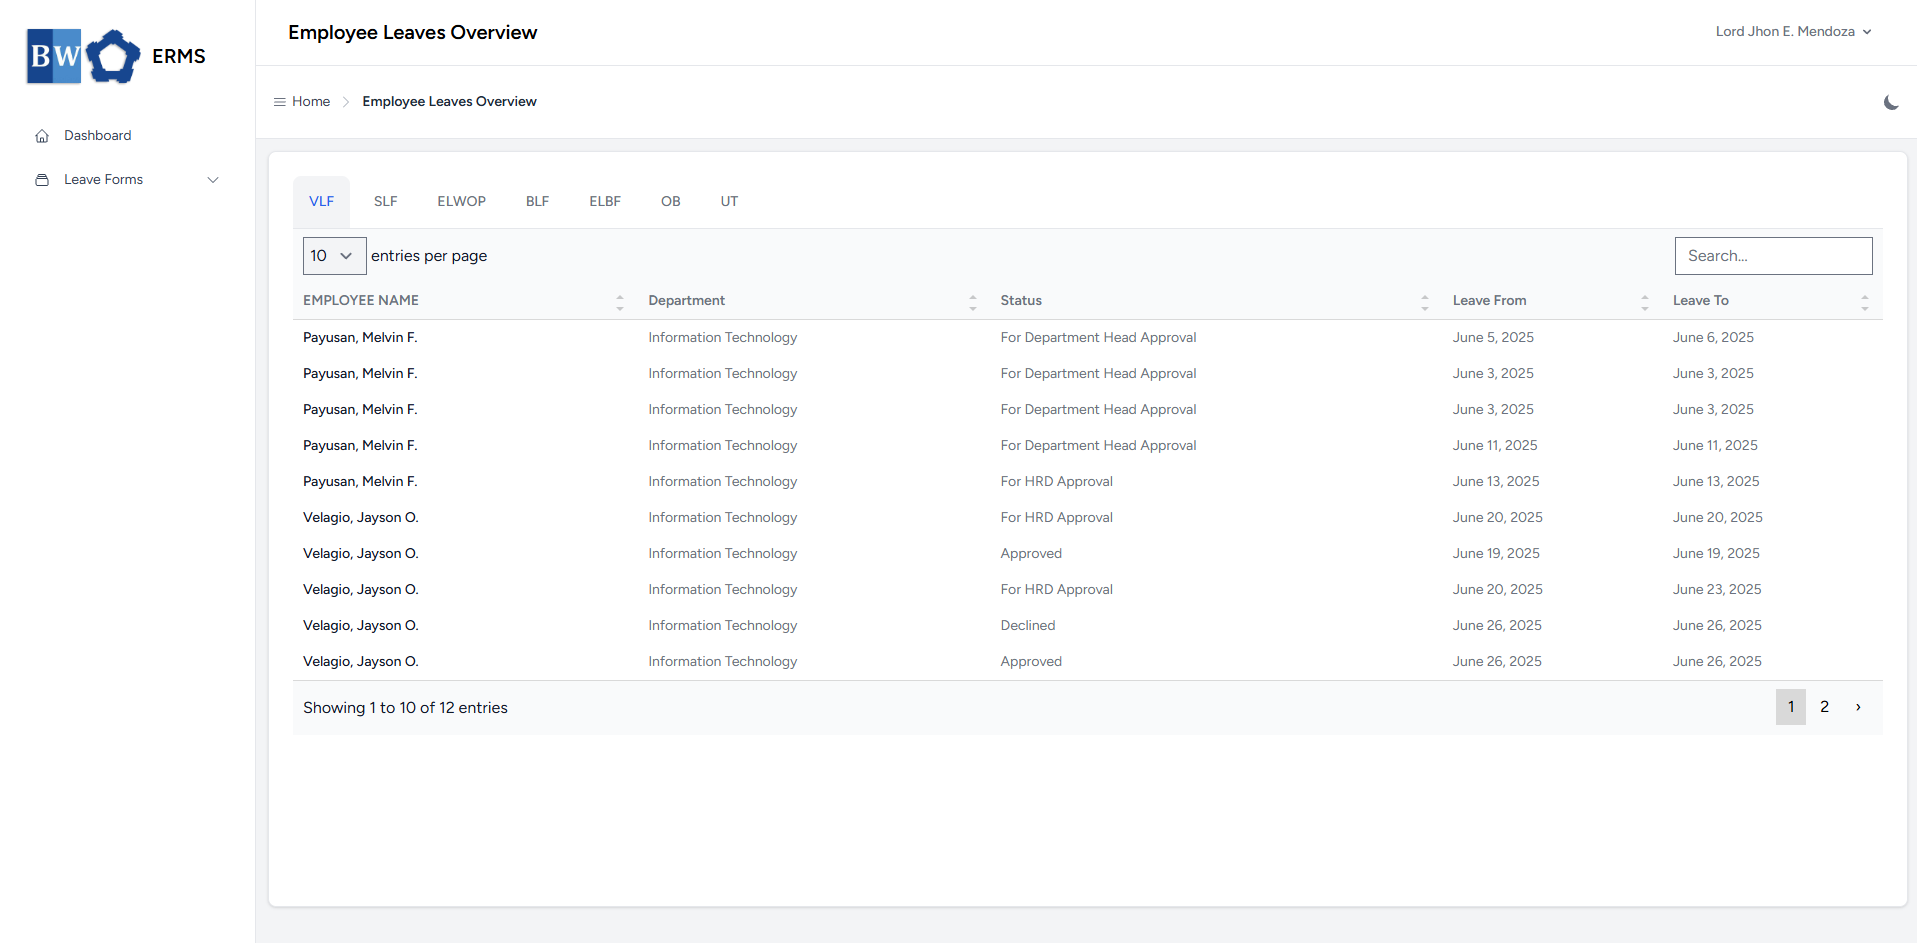
- It will open the Leaves Overview page.
- The page will first display all Vacation Leave filed by employees.
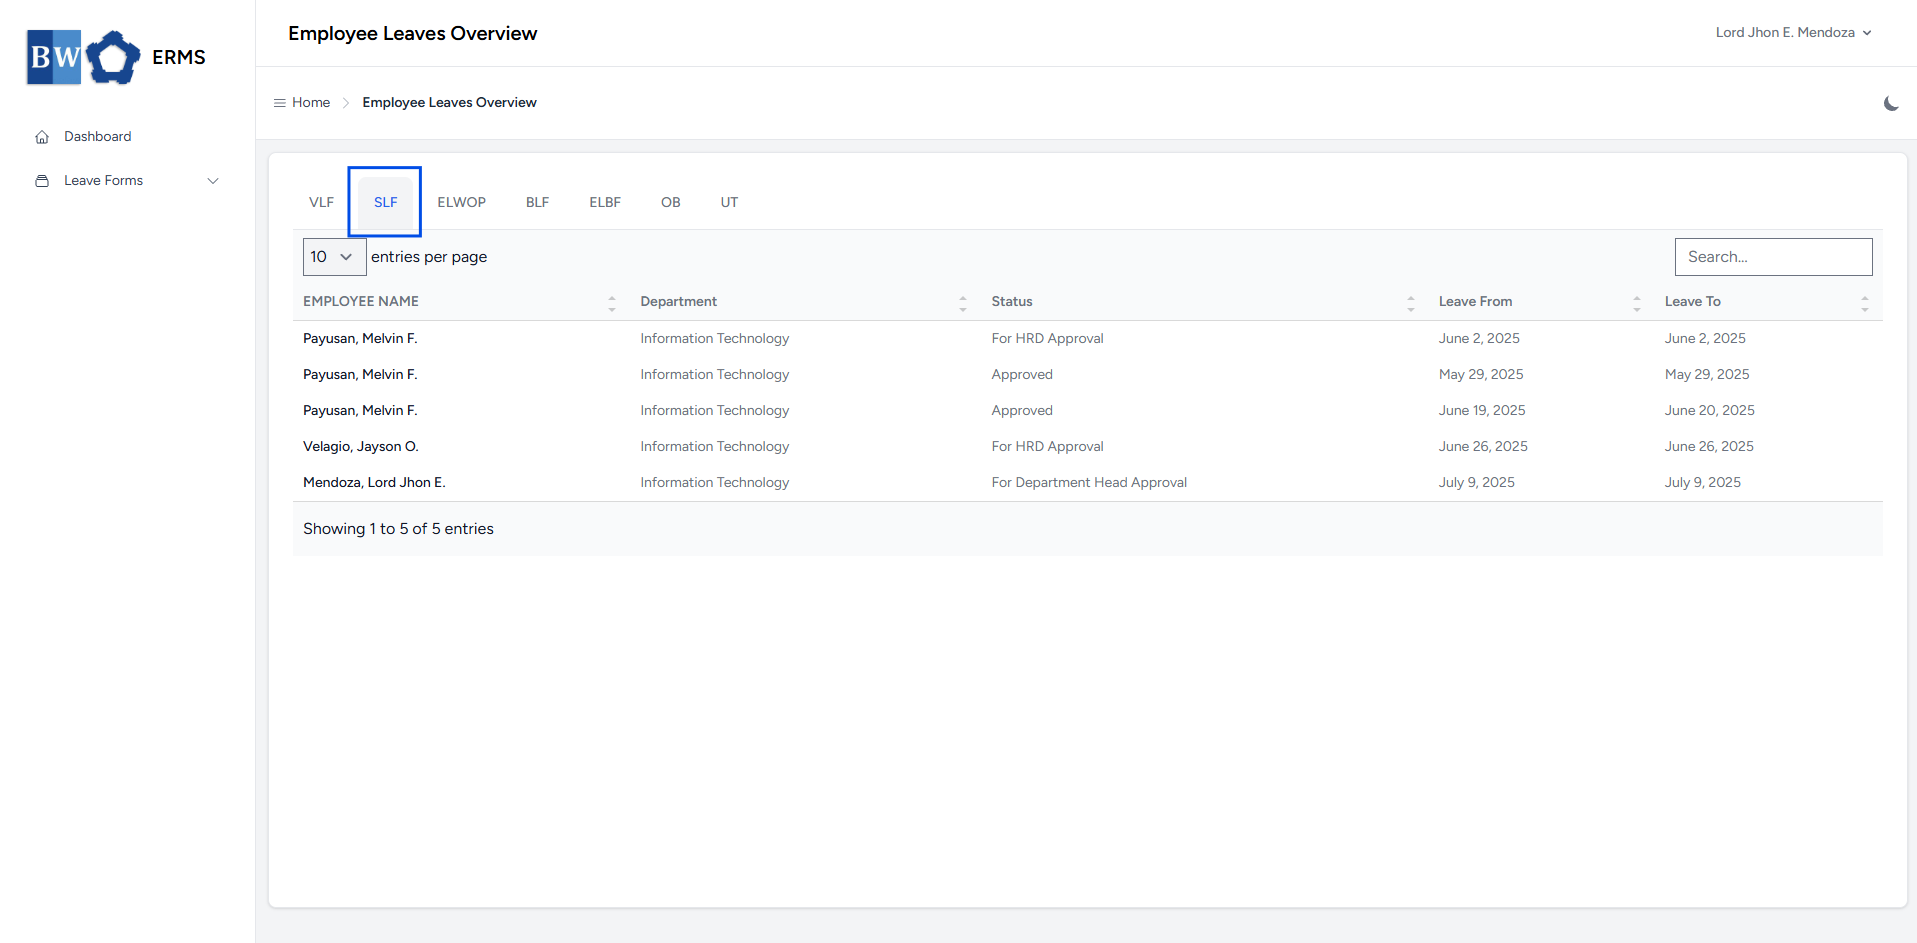
- To view all employee-filed Sick Leaves, click SLF in the navigation bar.
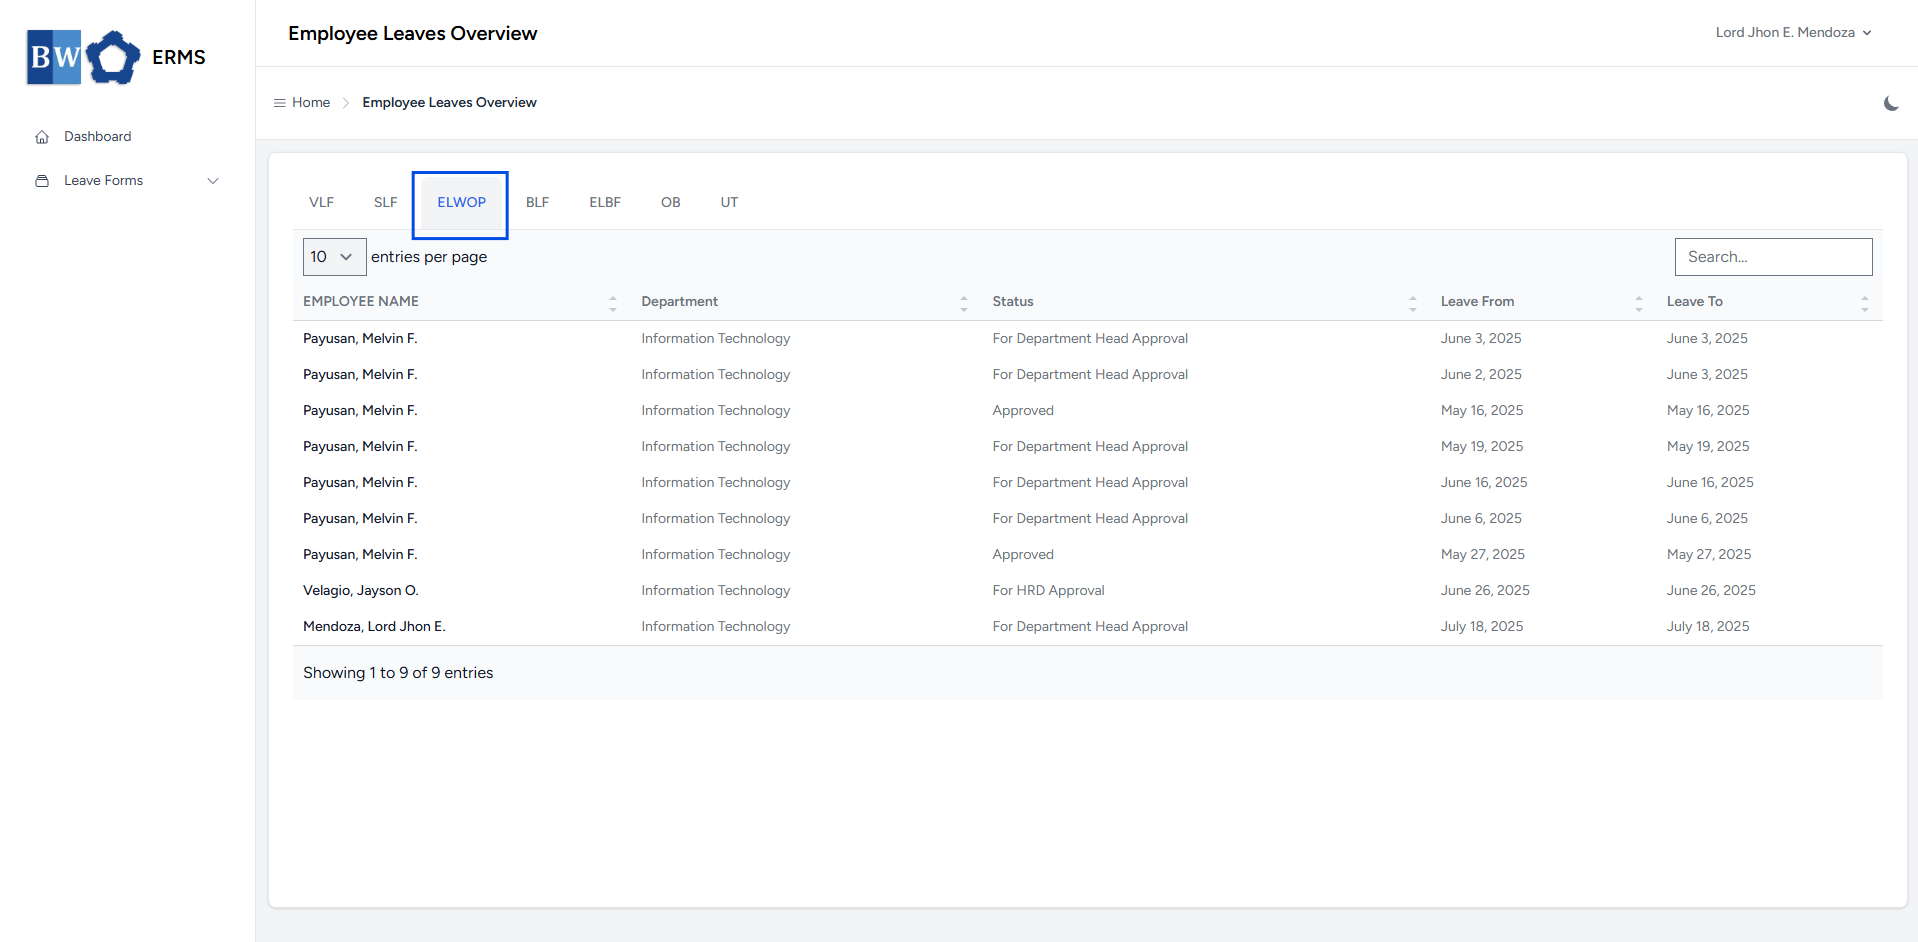
- To view all employee-filed Emergency Leave Without Pay, click ELWOP in the navigation bar.
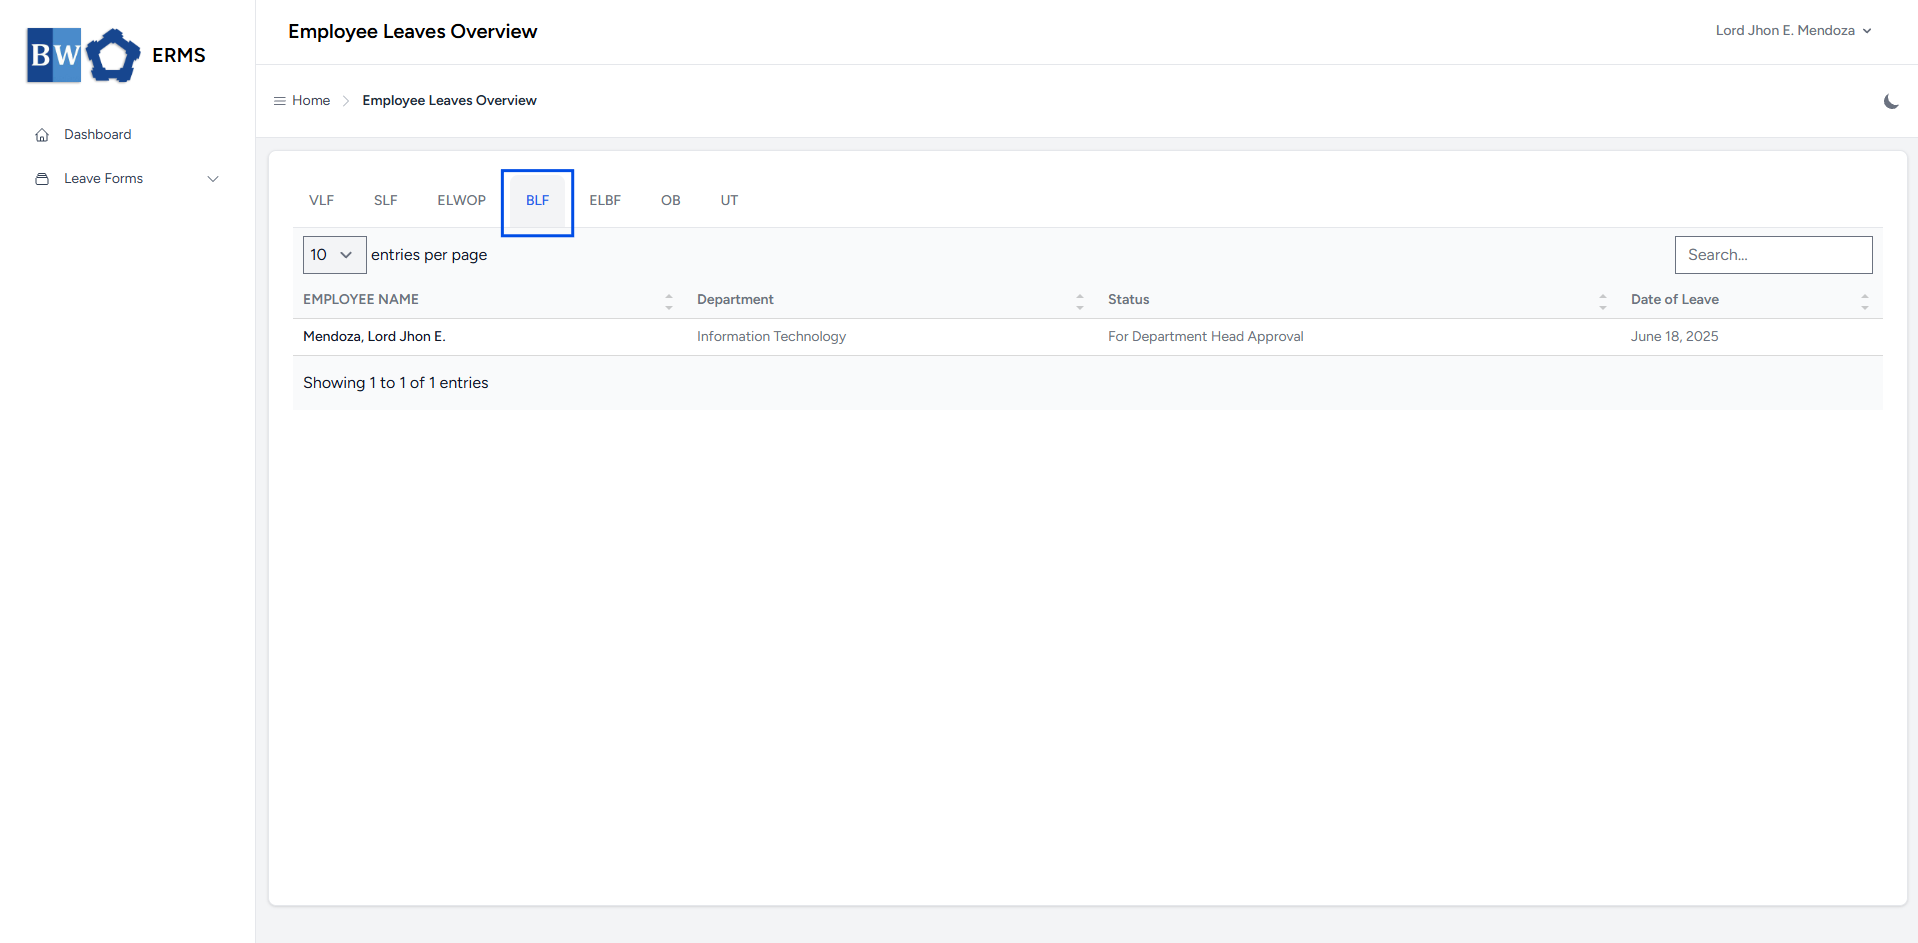
- To view all employee-filed Birthday Leave, click BLF in the navigation bar.
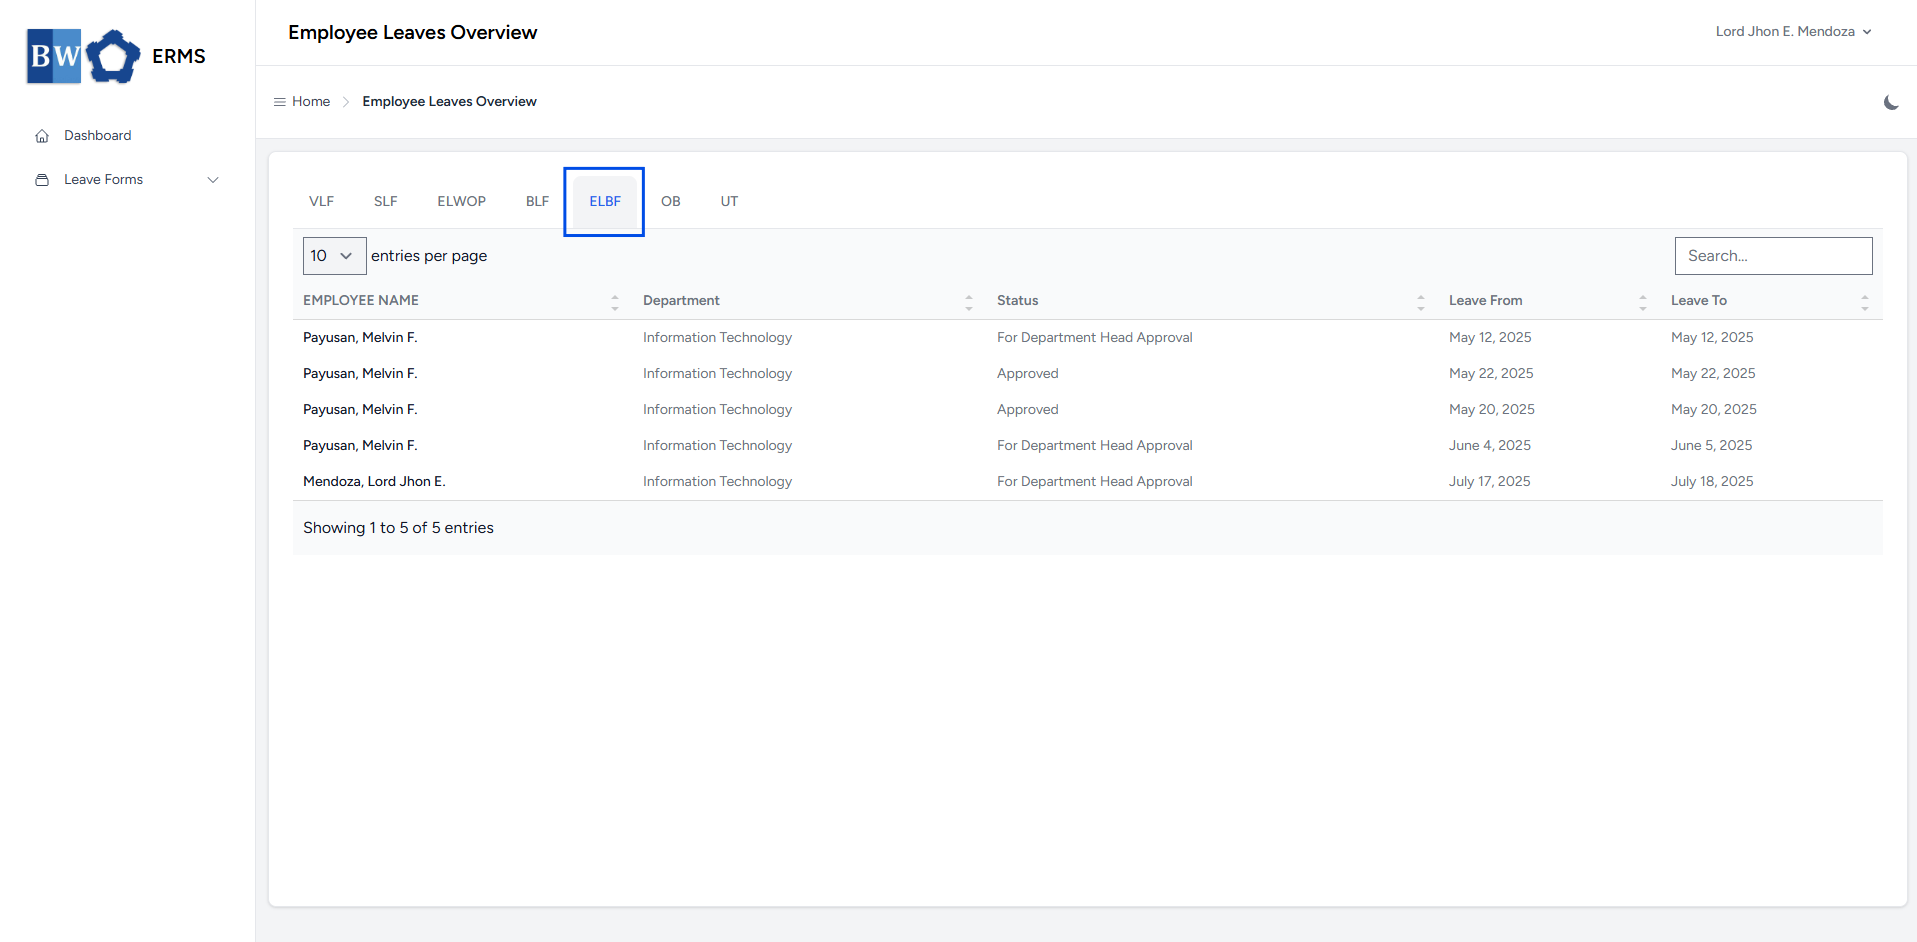
- To view all employee-filed Emergency Leave Benefit, click ELBF in the navigation bar.
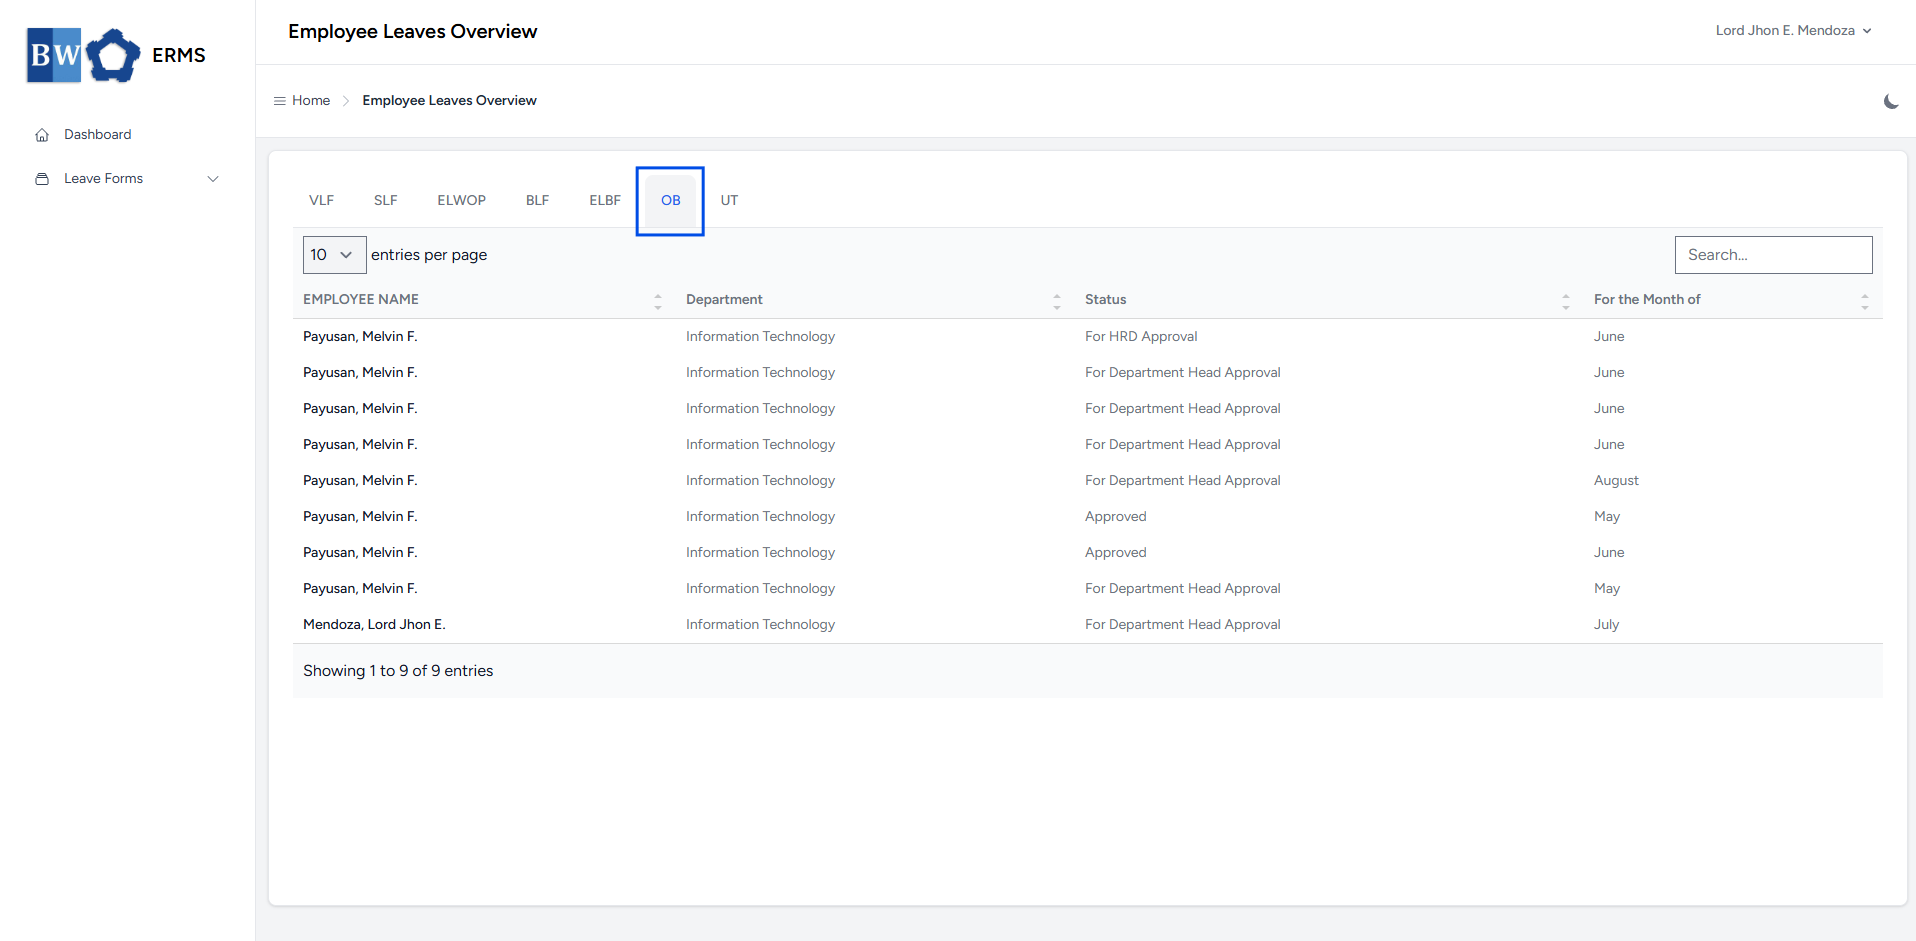
- To view all employee-filed Official Business, click OB in the navigation bar.
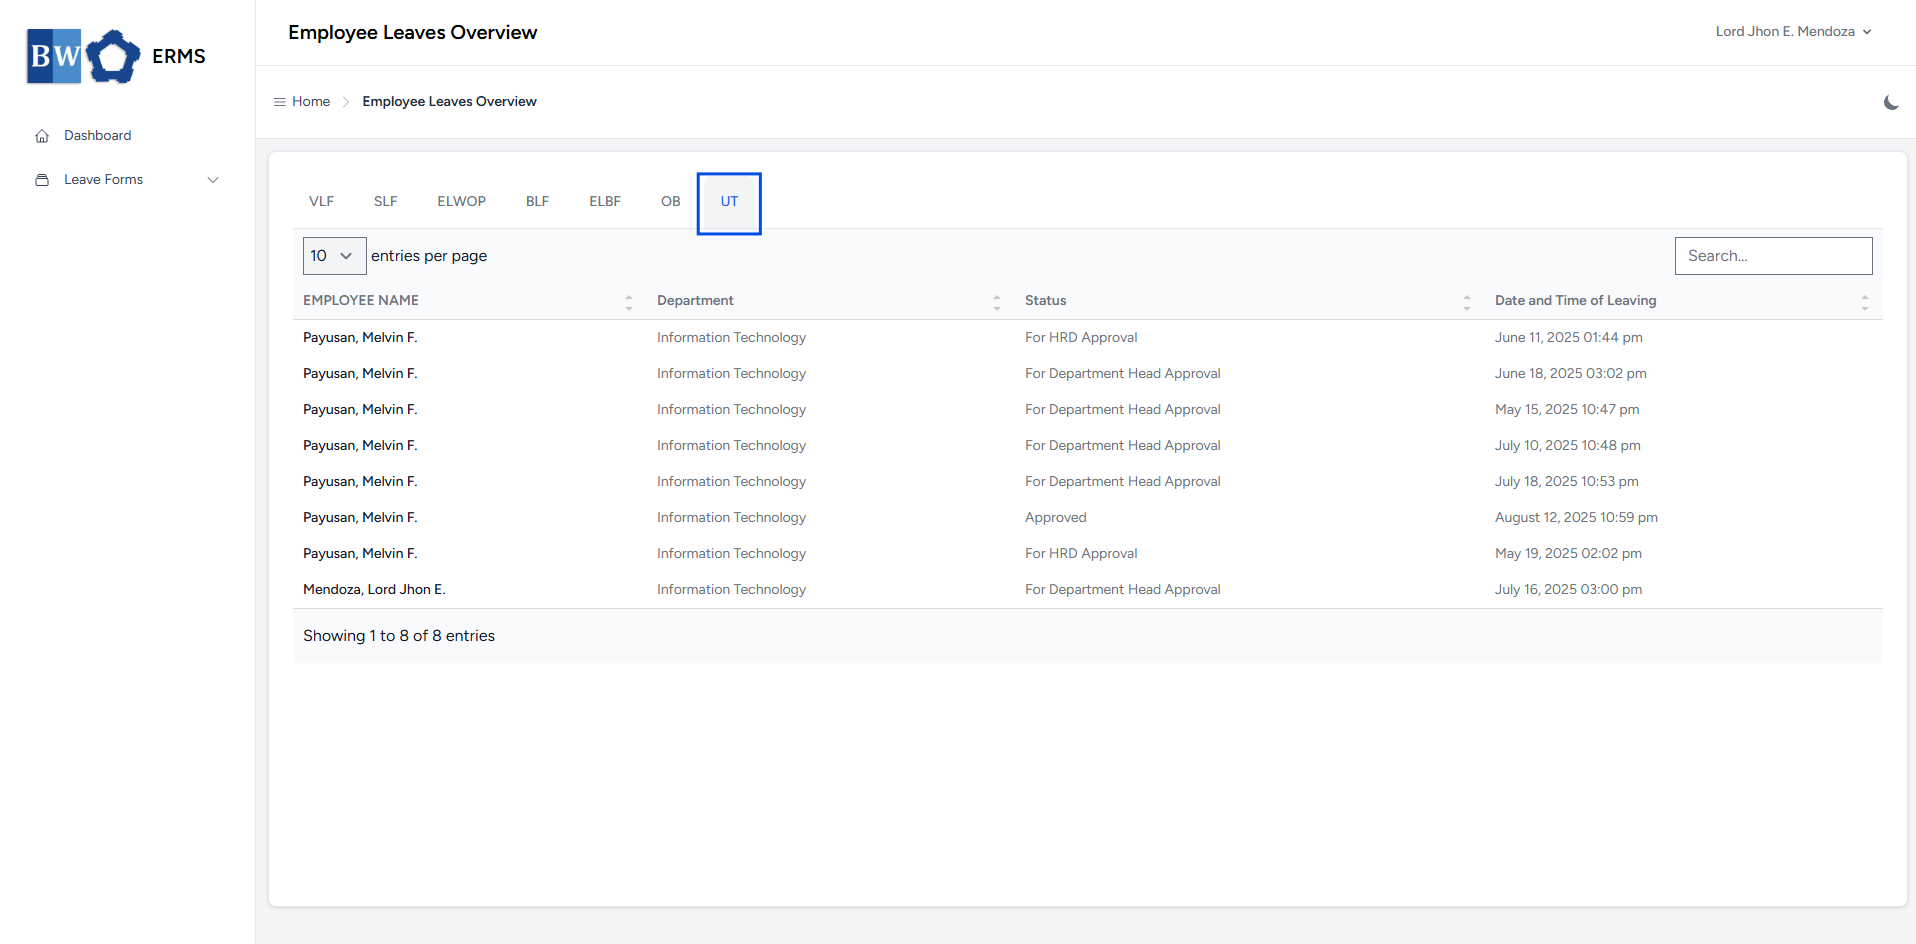
- To view all employee-filed Undertime, click UT in the navigation bar.
Department Management
This section provides a clear and complete guide on how to access Department Management as a HRIS Admin, outlining the steps and responsibilities involved.
To access the Department Management page:
-
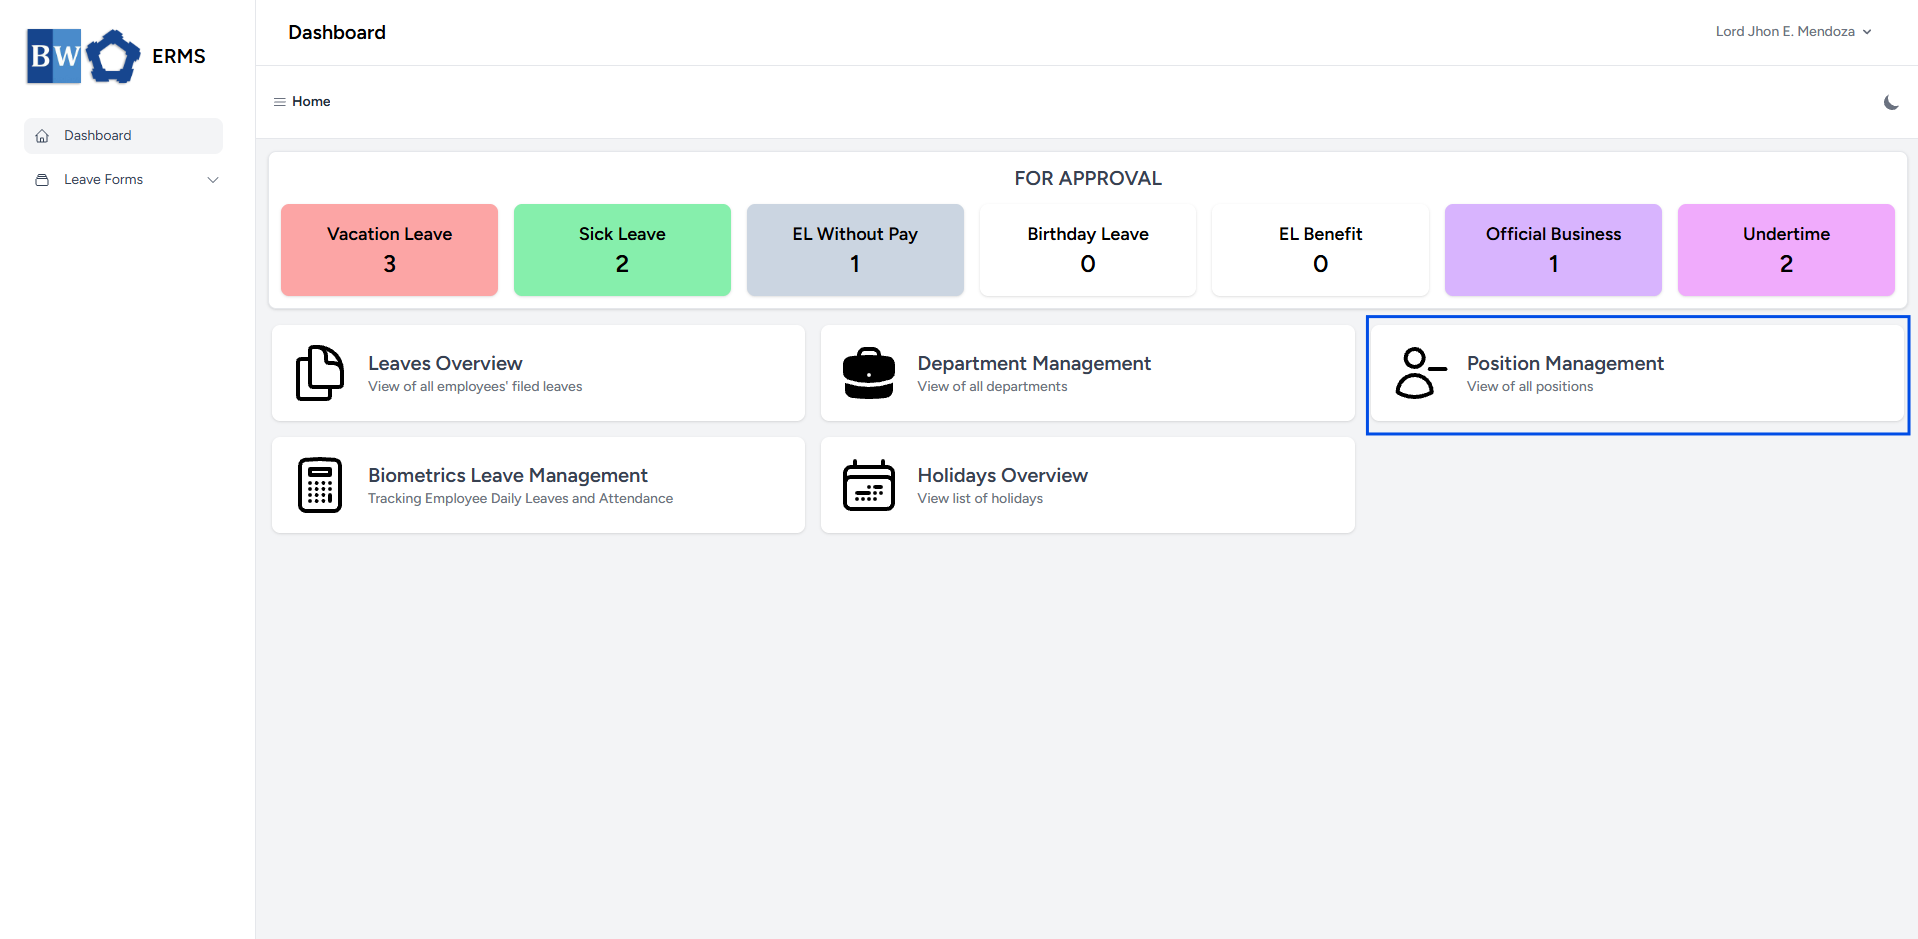
On your Dashboard, click Department Management panel.
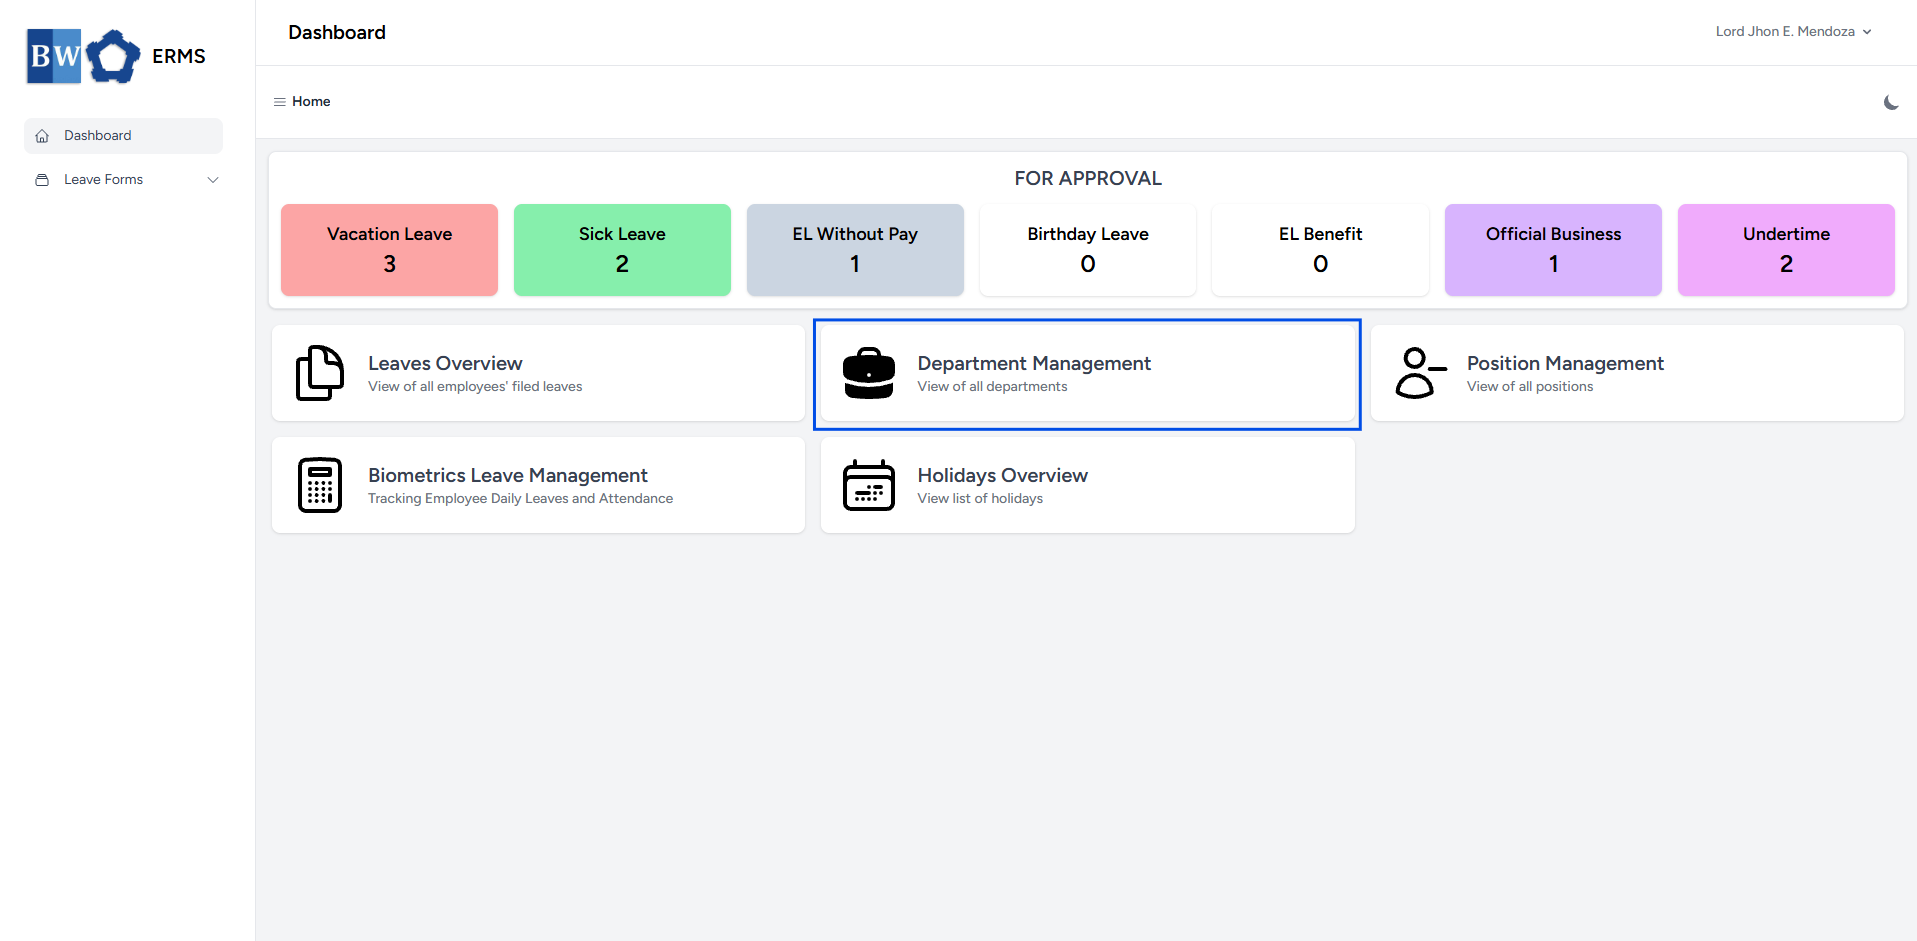
- It will open the Department Management page.

- On the Department Management page, click the Create Department button to open the form.

- Fill out the required fields, then click Submit.
- After submitting, a notification will appear saying that the Department has been created. The created department will be added to the list.

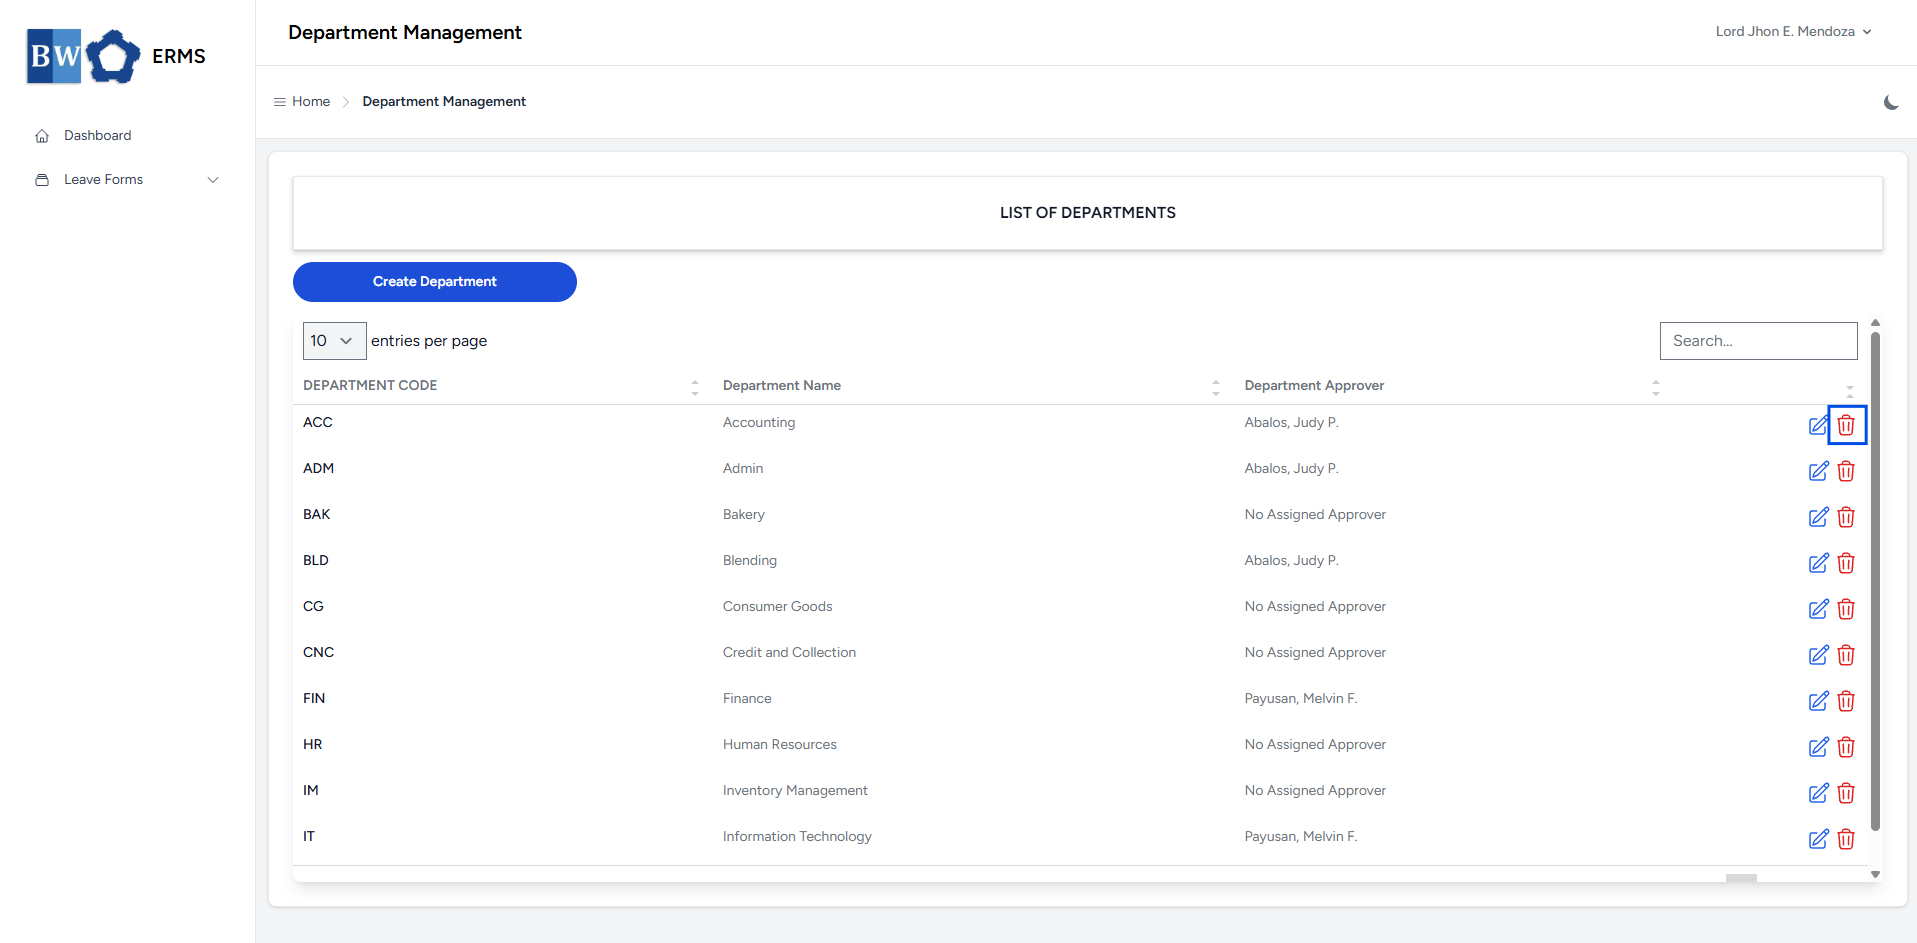
- To delete a department, click the red delete icon in the row of the department you wish to remove.
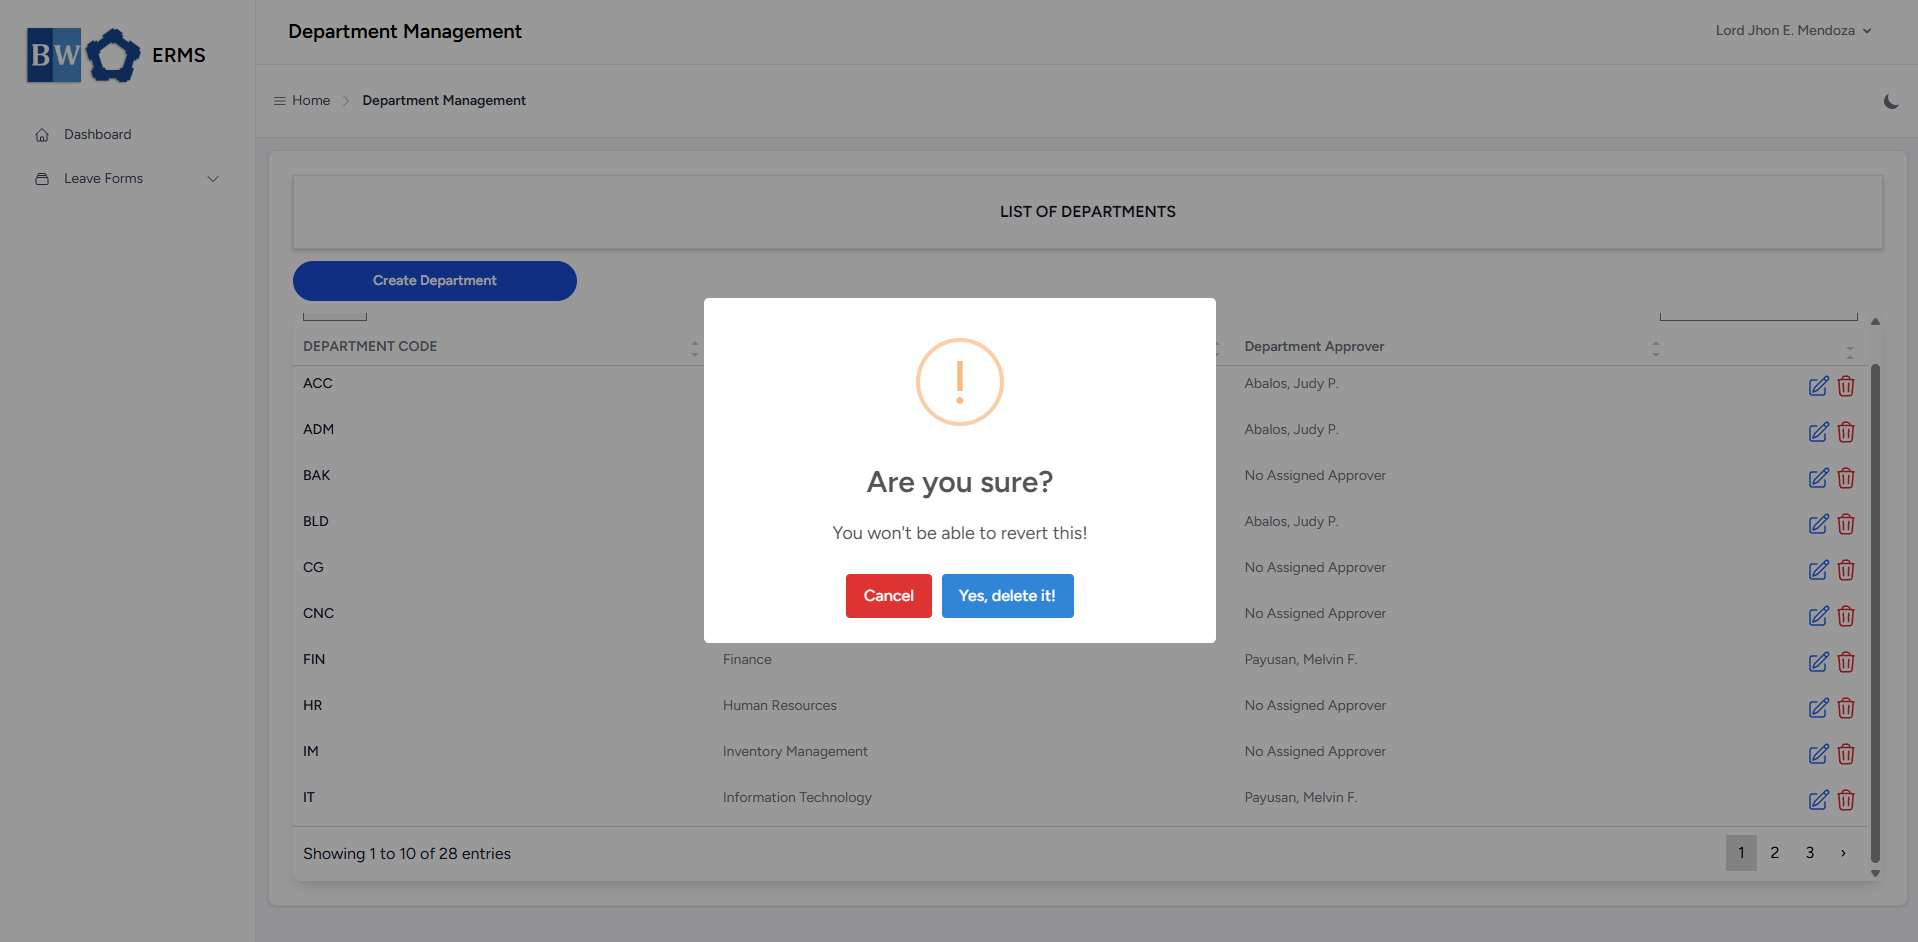
- A confirmation prompt will appear asking if you want to proceed with the deletion.
- Click Yes, delete it! button to completely delete the department.
- To edit a department, click the blue edit icon in the row of the department you wish to edit.

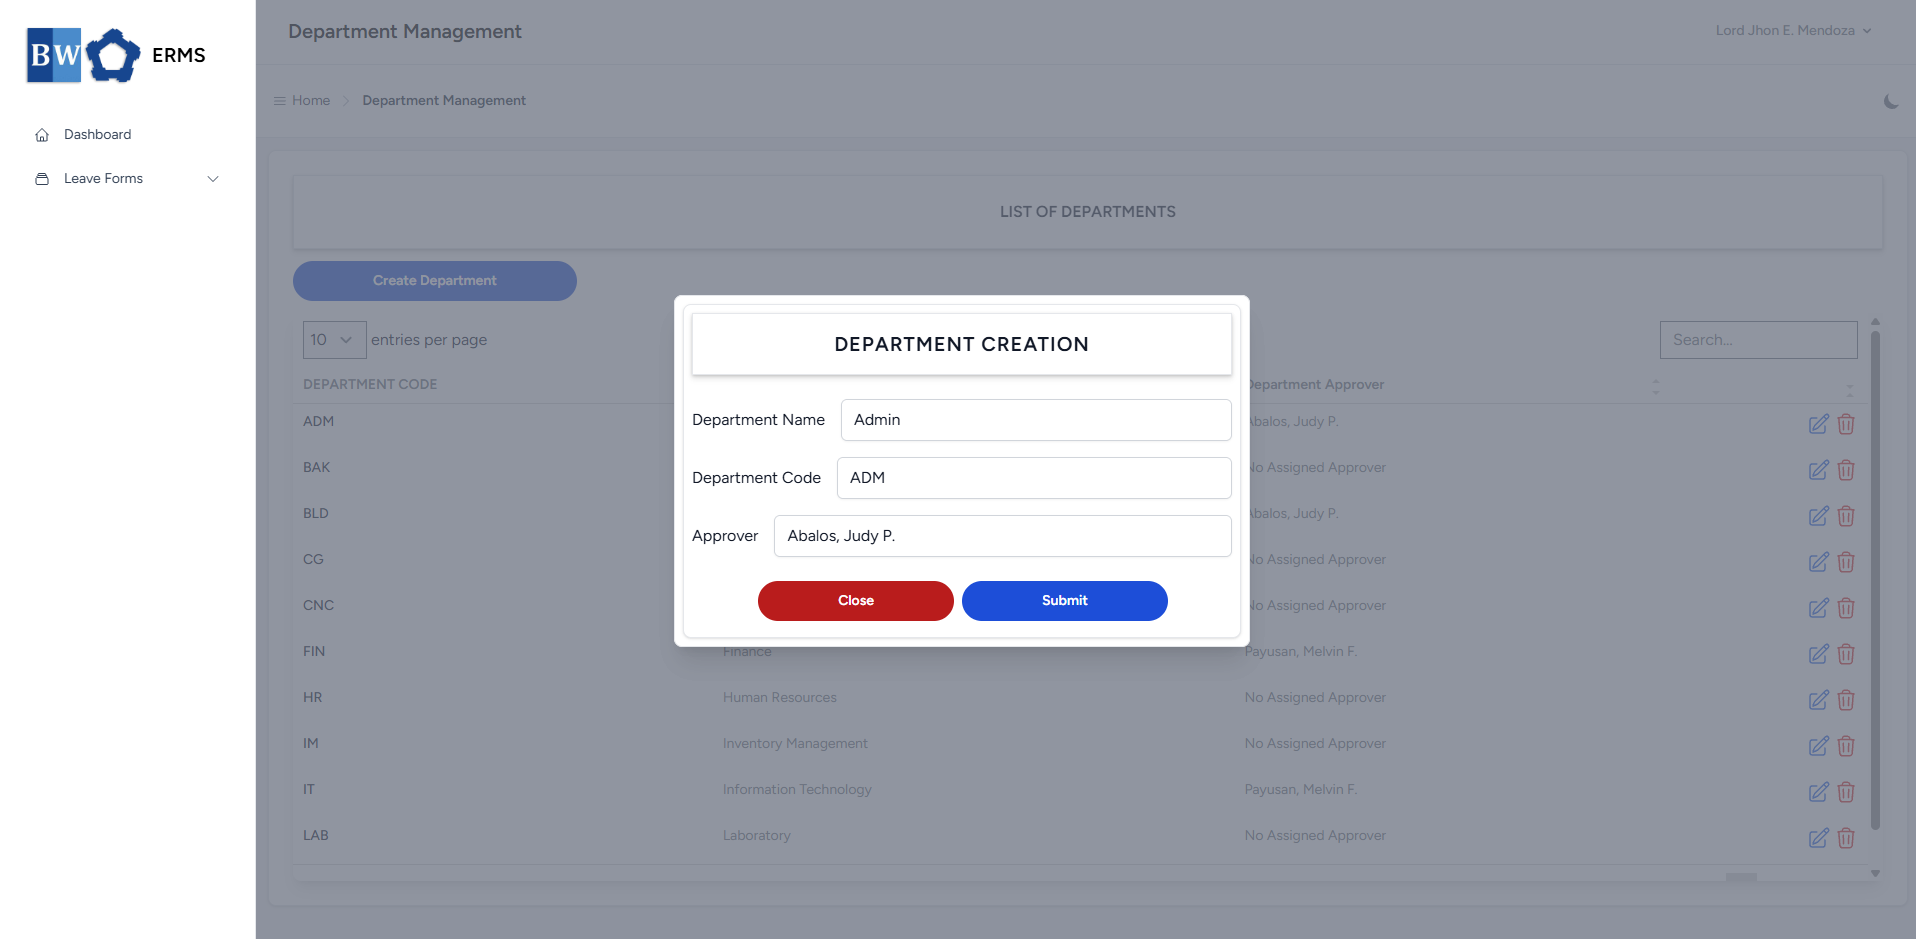
- After editing the Department Name and Code, click the Submit button to save the changes.
- Note: You can change the Approver of department in User Management.
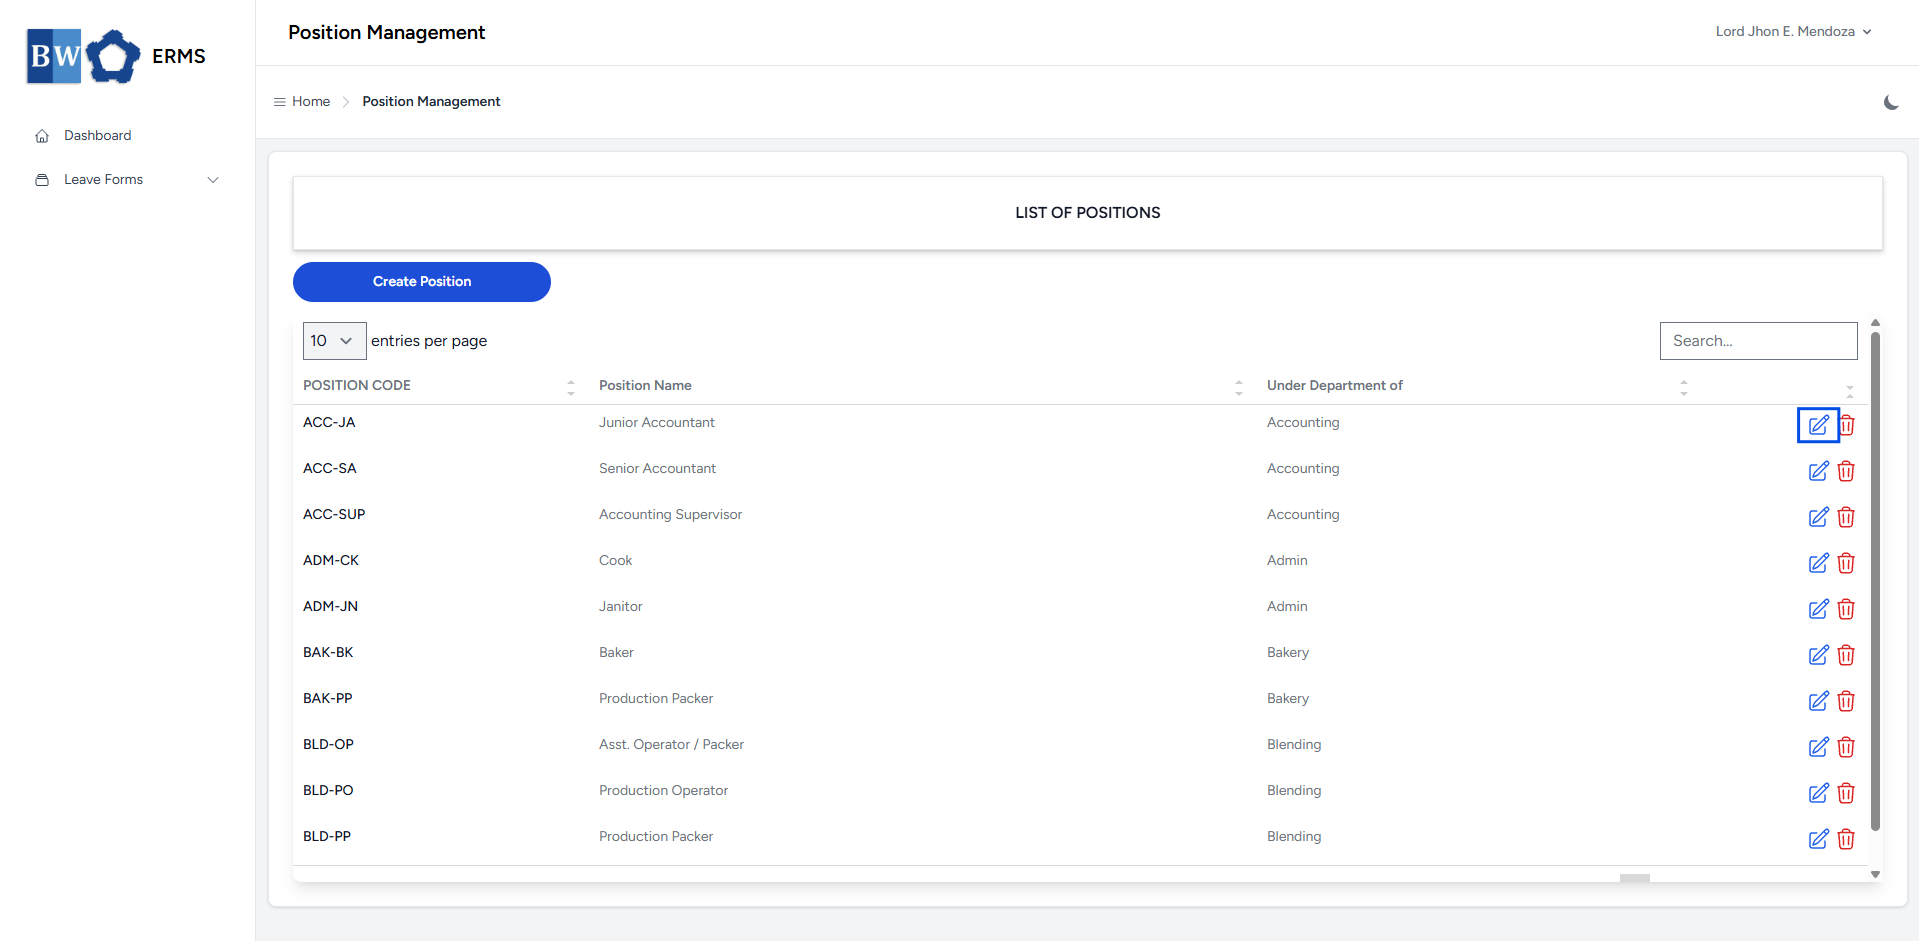
Position Management
This section provides a clear and complete guide on how to access Position Management as a HRIS Admin, outlining the steps and responsibilities involved.
To access the Position Management page:
-
On your Dashboard, click Position Management panel.
- It will open the Position Management page.
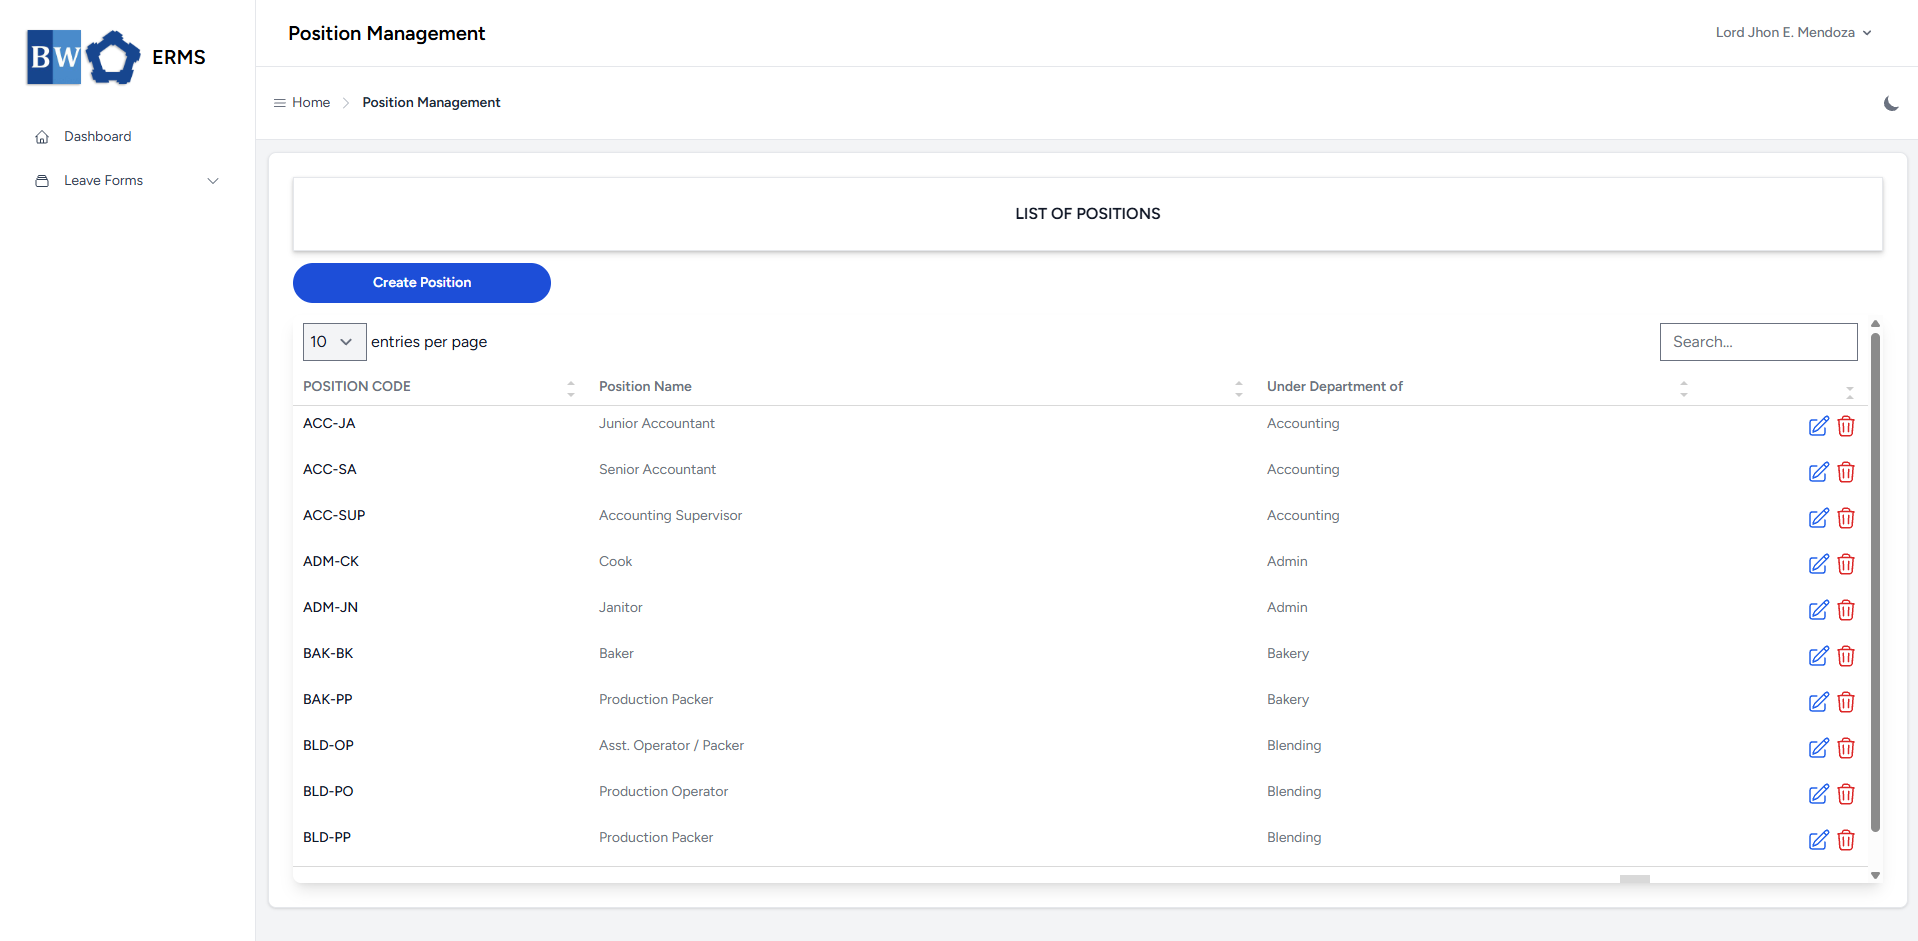
- On the Position Management page, click the Create Position button to open the form.

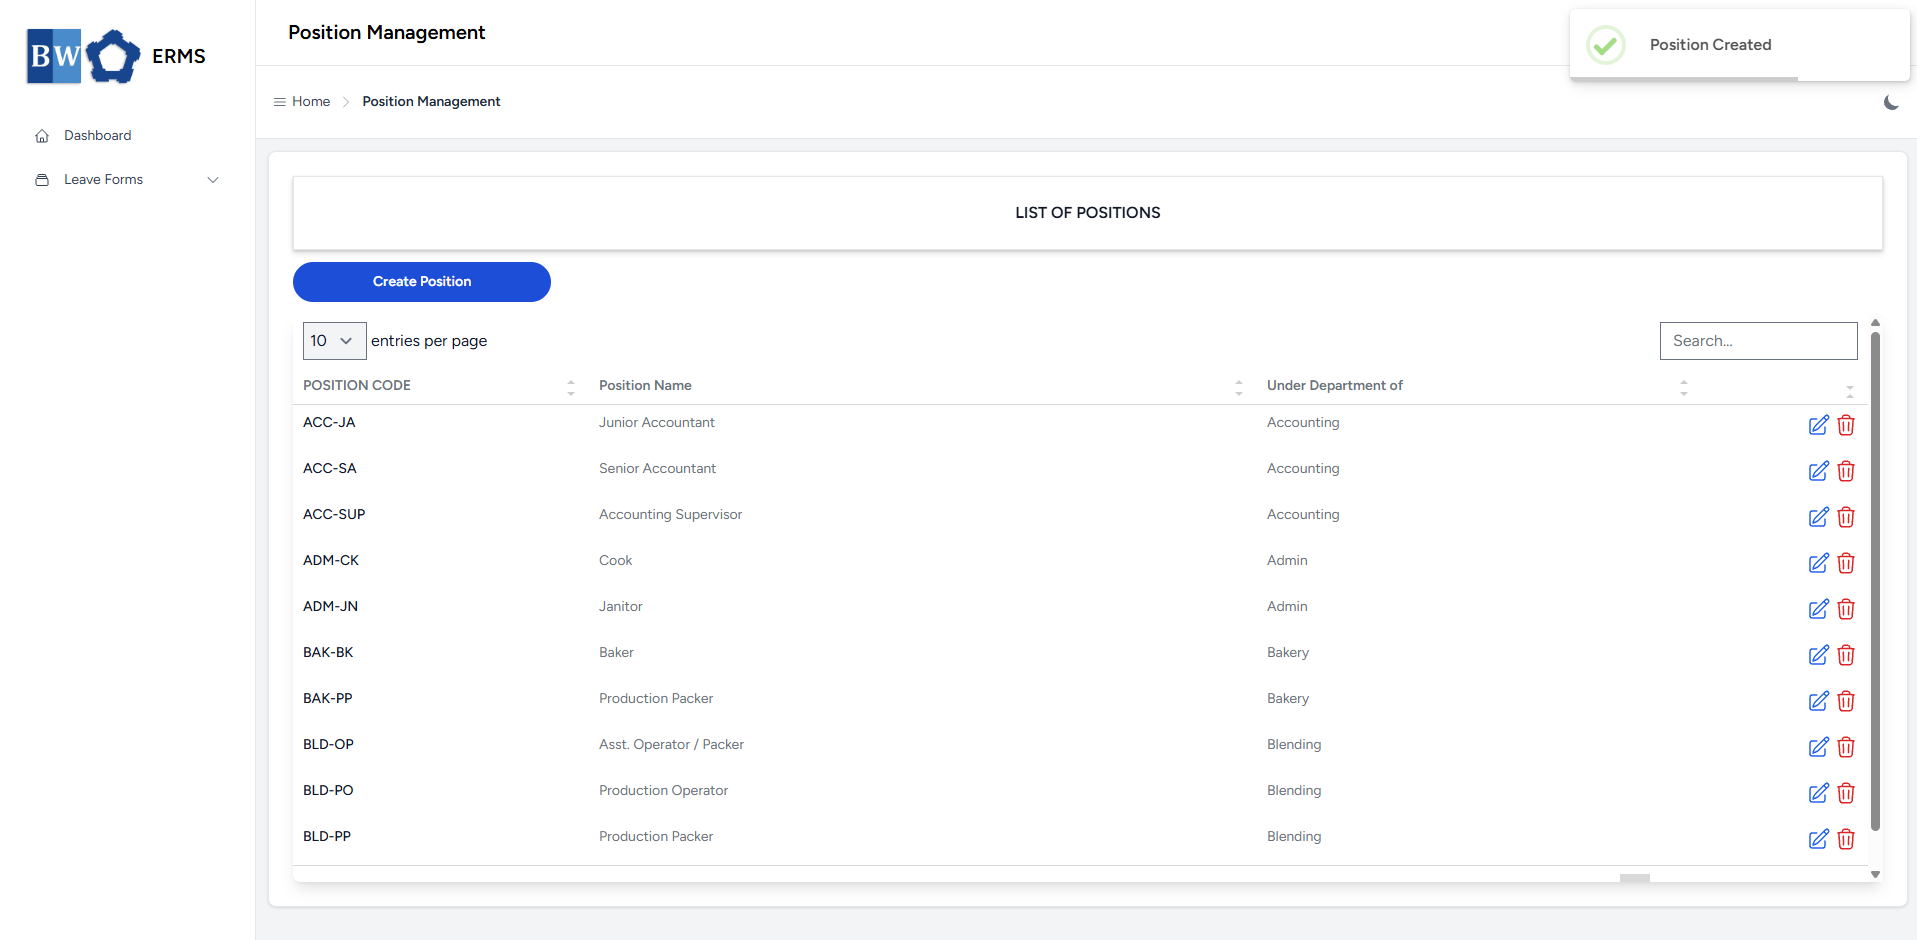
- Fill out the required fields, then click Submit.
- After submitting, a notification will appear saying that the Position has been created. The created position will be added to the list.
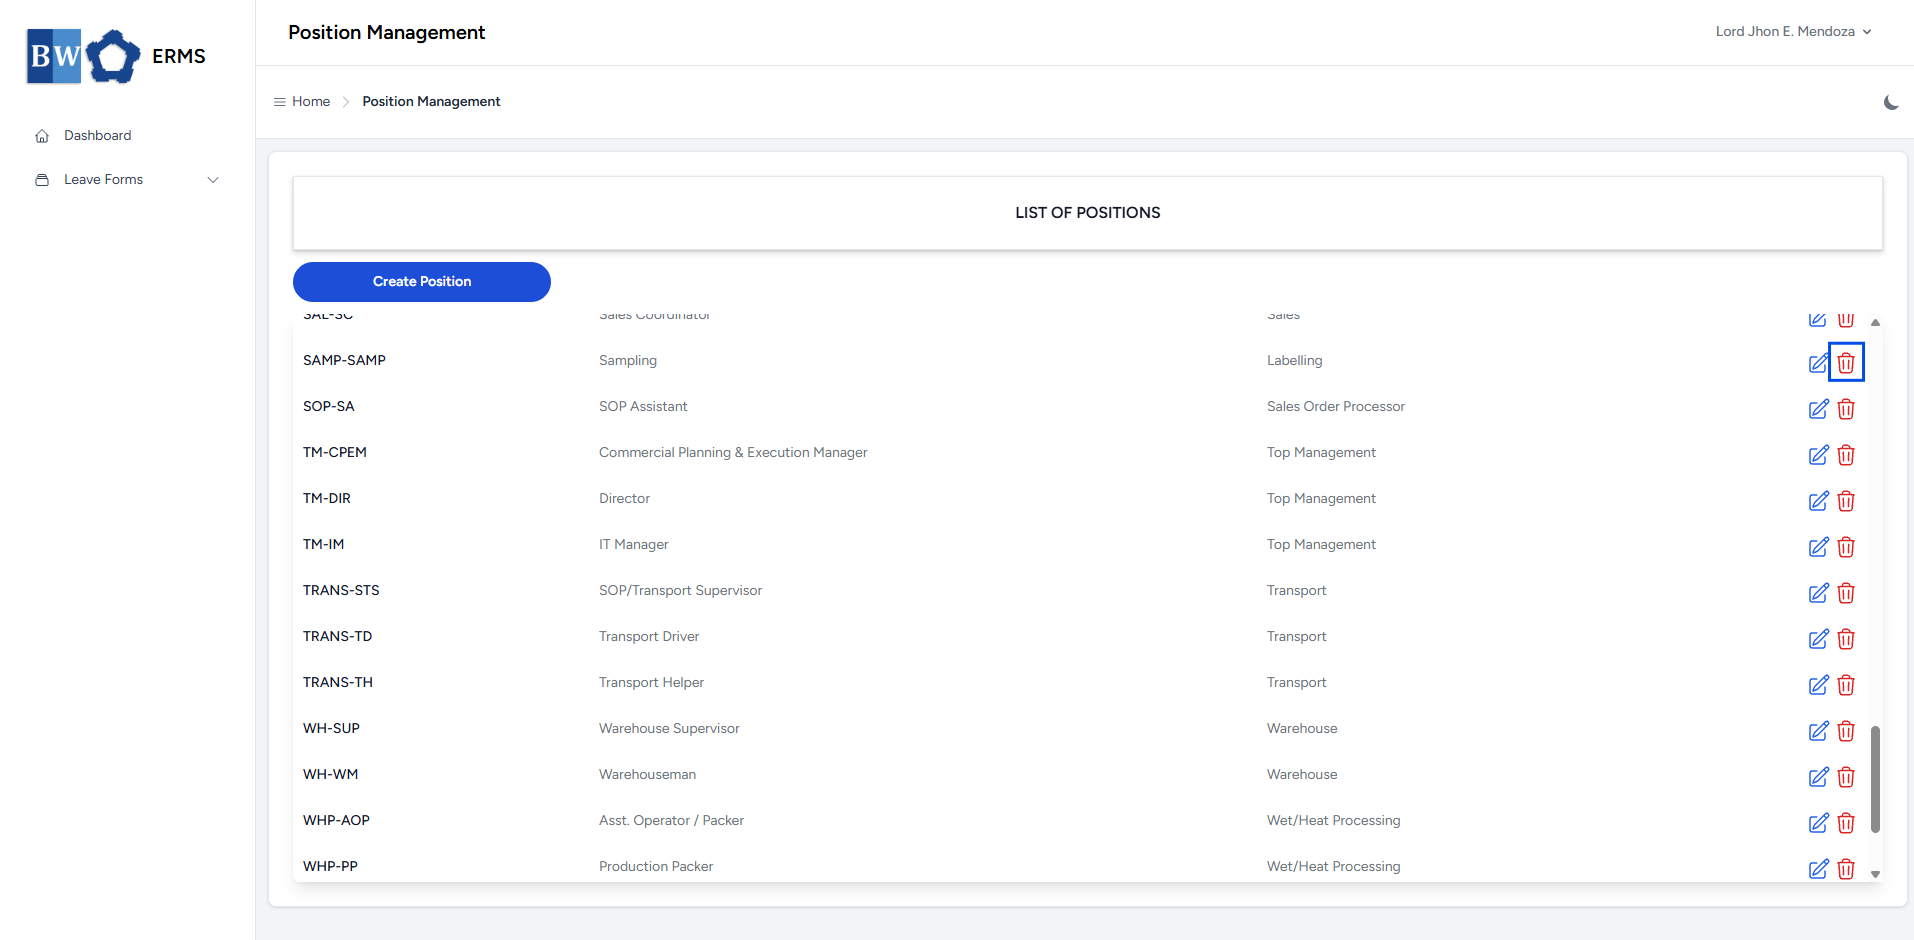
- To delete a position, click the red delete icon in the row of the position you wish to remove.
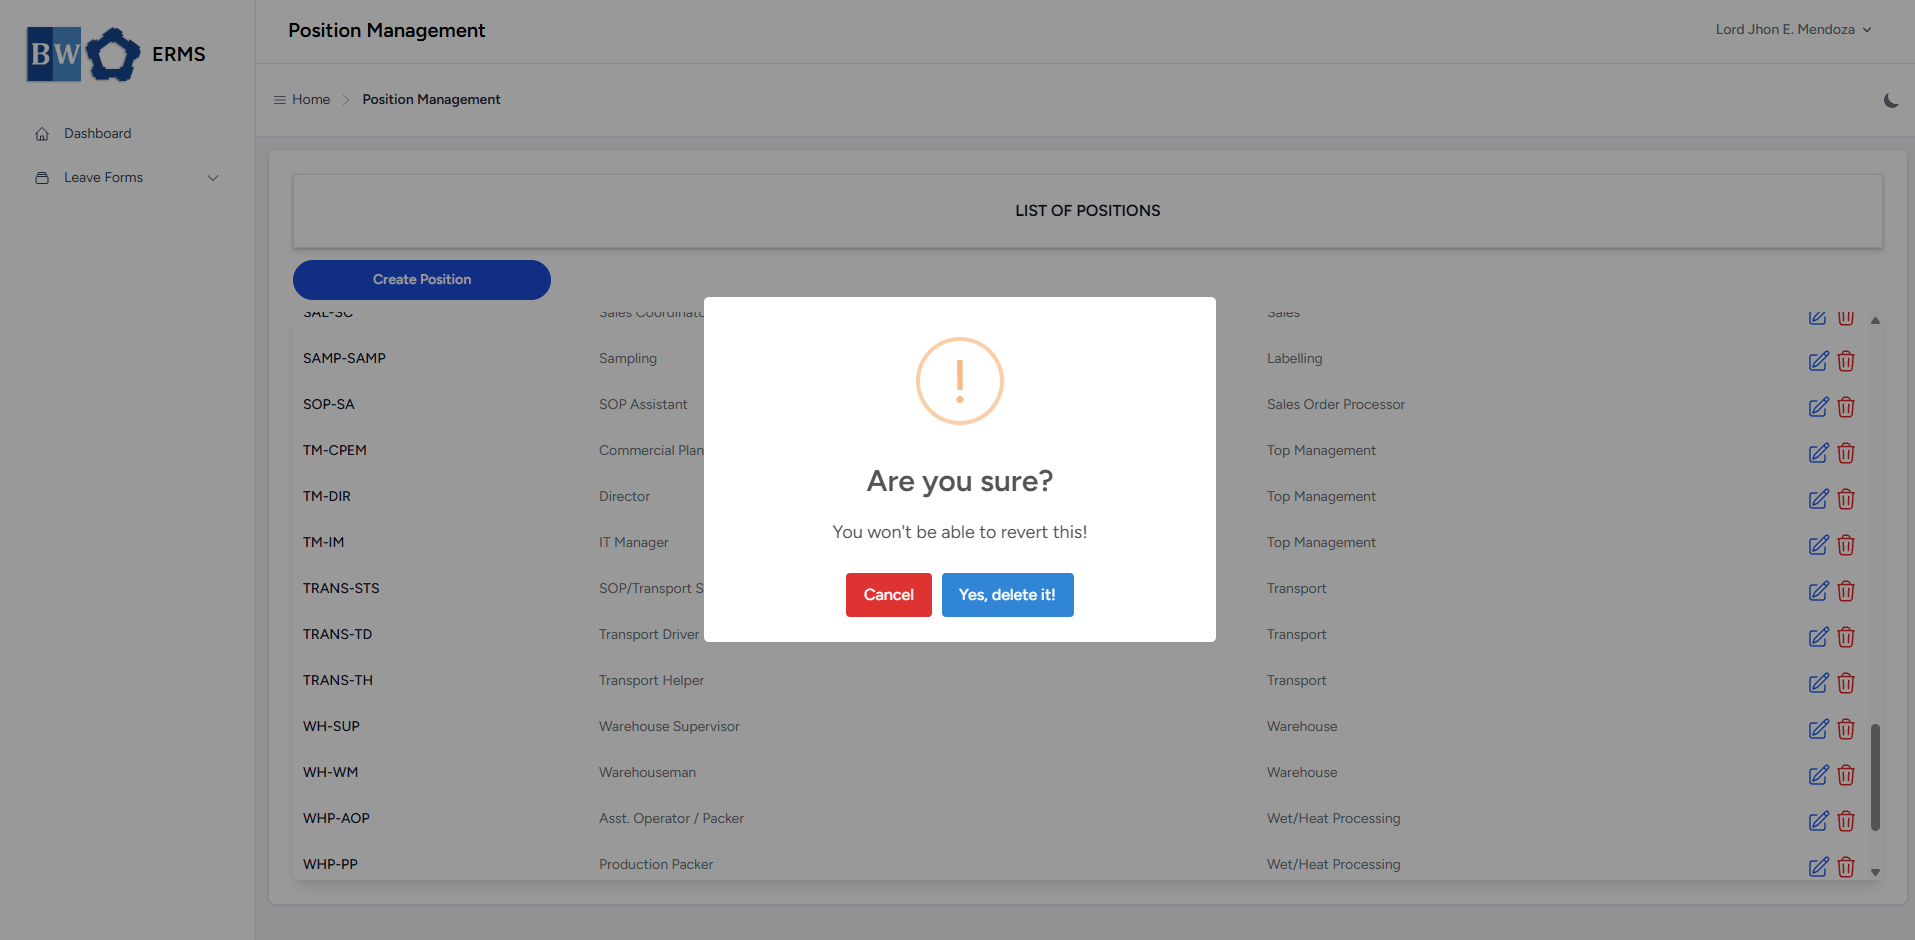
- A confirmation prompt will appear asking if you want to proceed with the deletion.
- Click Yes, delete it! button to completely delete the department.
- To edit a position, click the blue edit icon in the row of the position you wish to edit.

- After editing the Position Name, Code, and Under Department of, click the Submit button to save the changes.
User Management
This section provides a clear and complete guide on how to access Position Management as a HRIS Admin, outlining the steps and responsibilities involved.
To access the User Management page:
-
Click your name at the top right corner of the screen.

- A dropdown will appear, where you can find the User Management option. Click it.
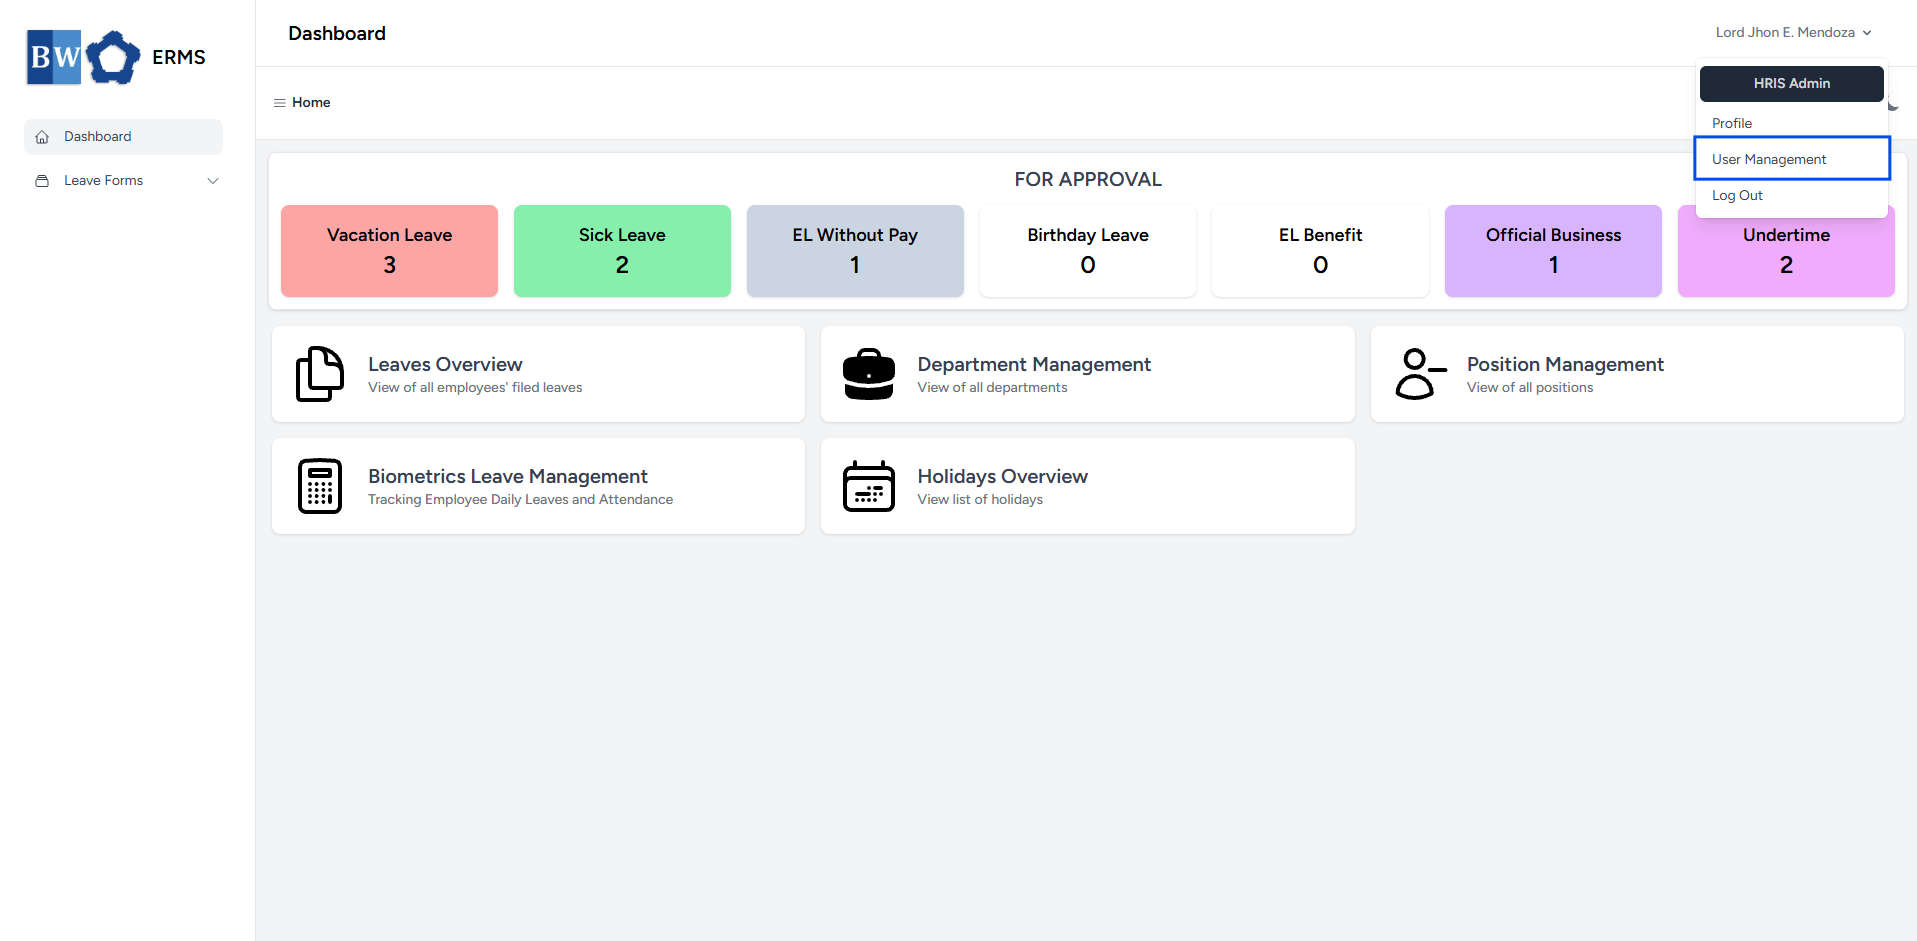
- It will open the User Management page.

- On the User Management page, click the Add Employee button to open the form.
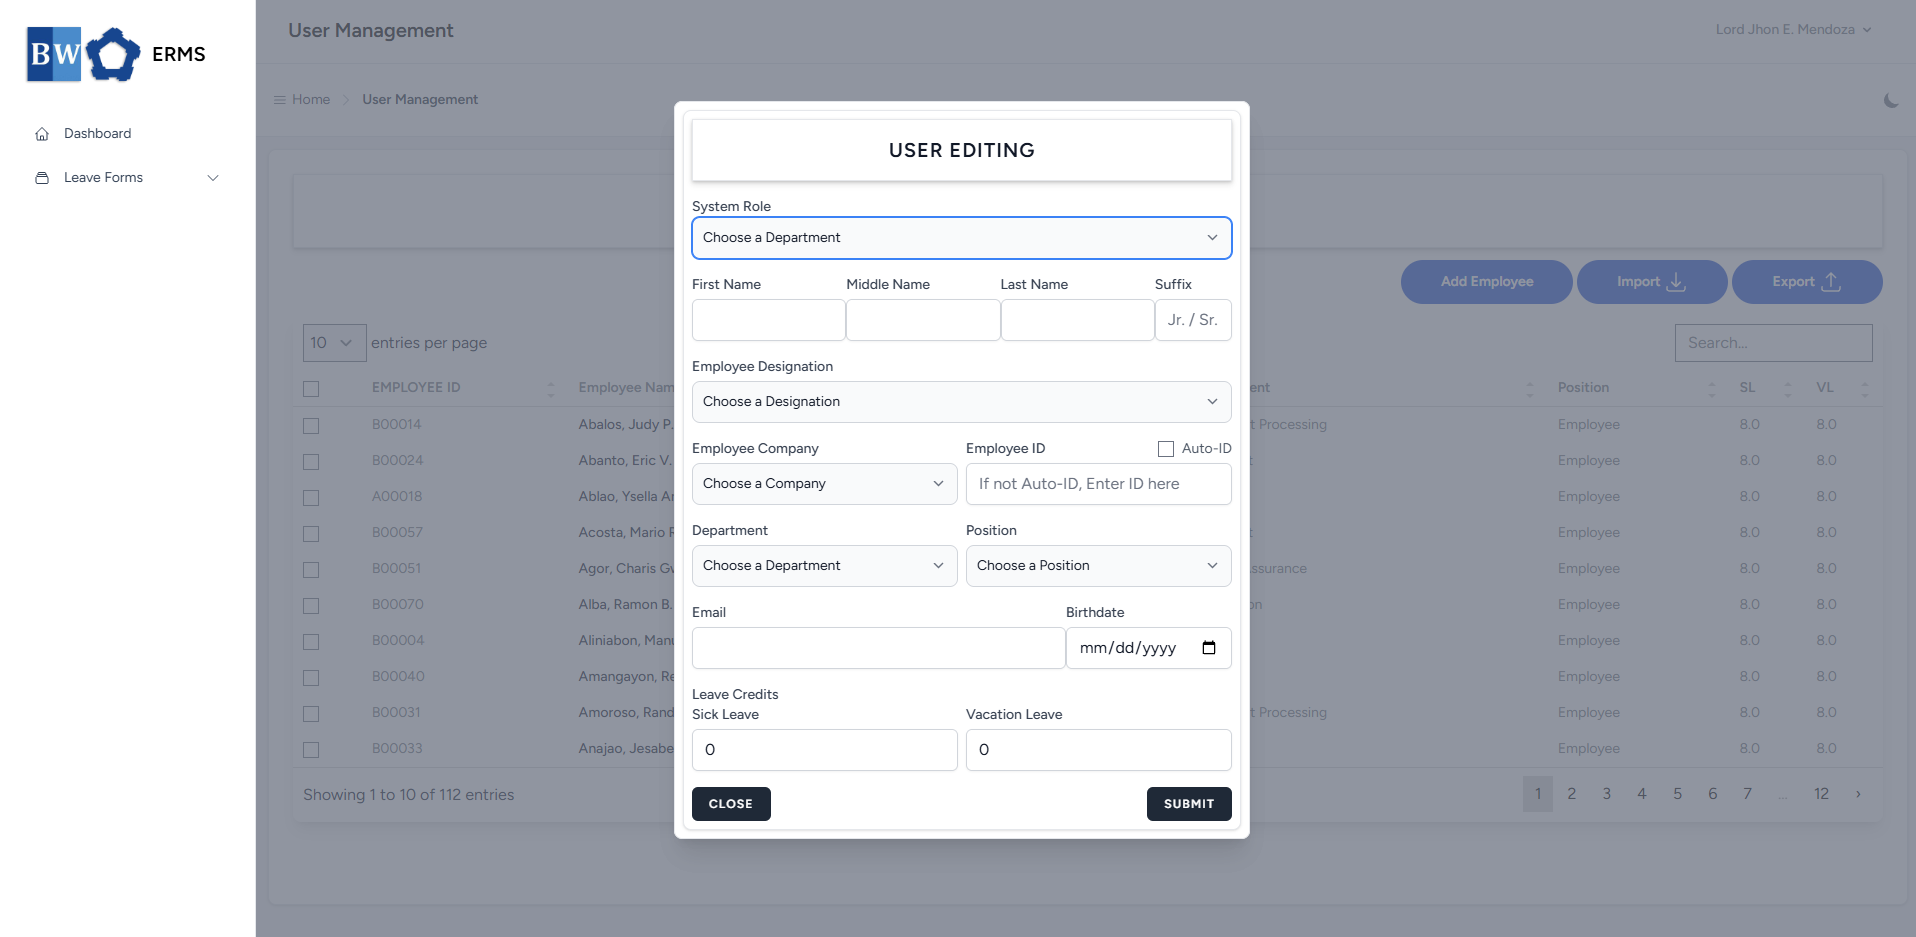
- Fill out the required fields, then click Submit.
- Note: Employee ID must be unique and not duplicated.
- After submitting, a notification will appear saying that the User has been created. The created user will be added to the list.
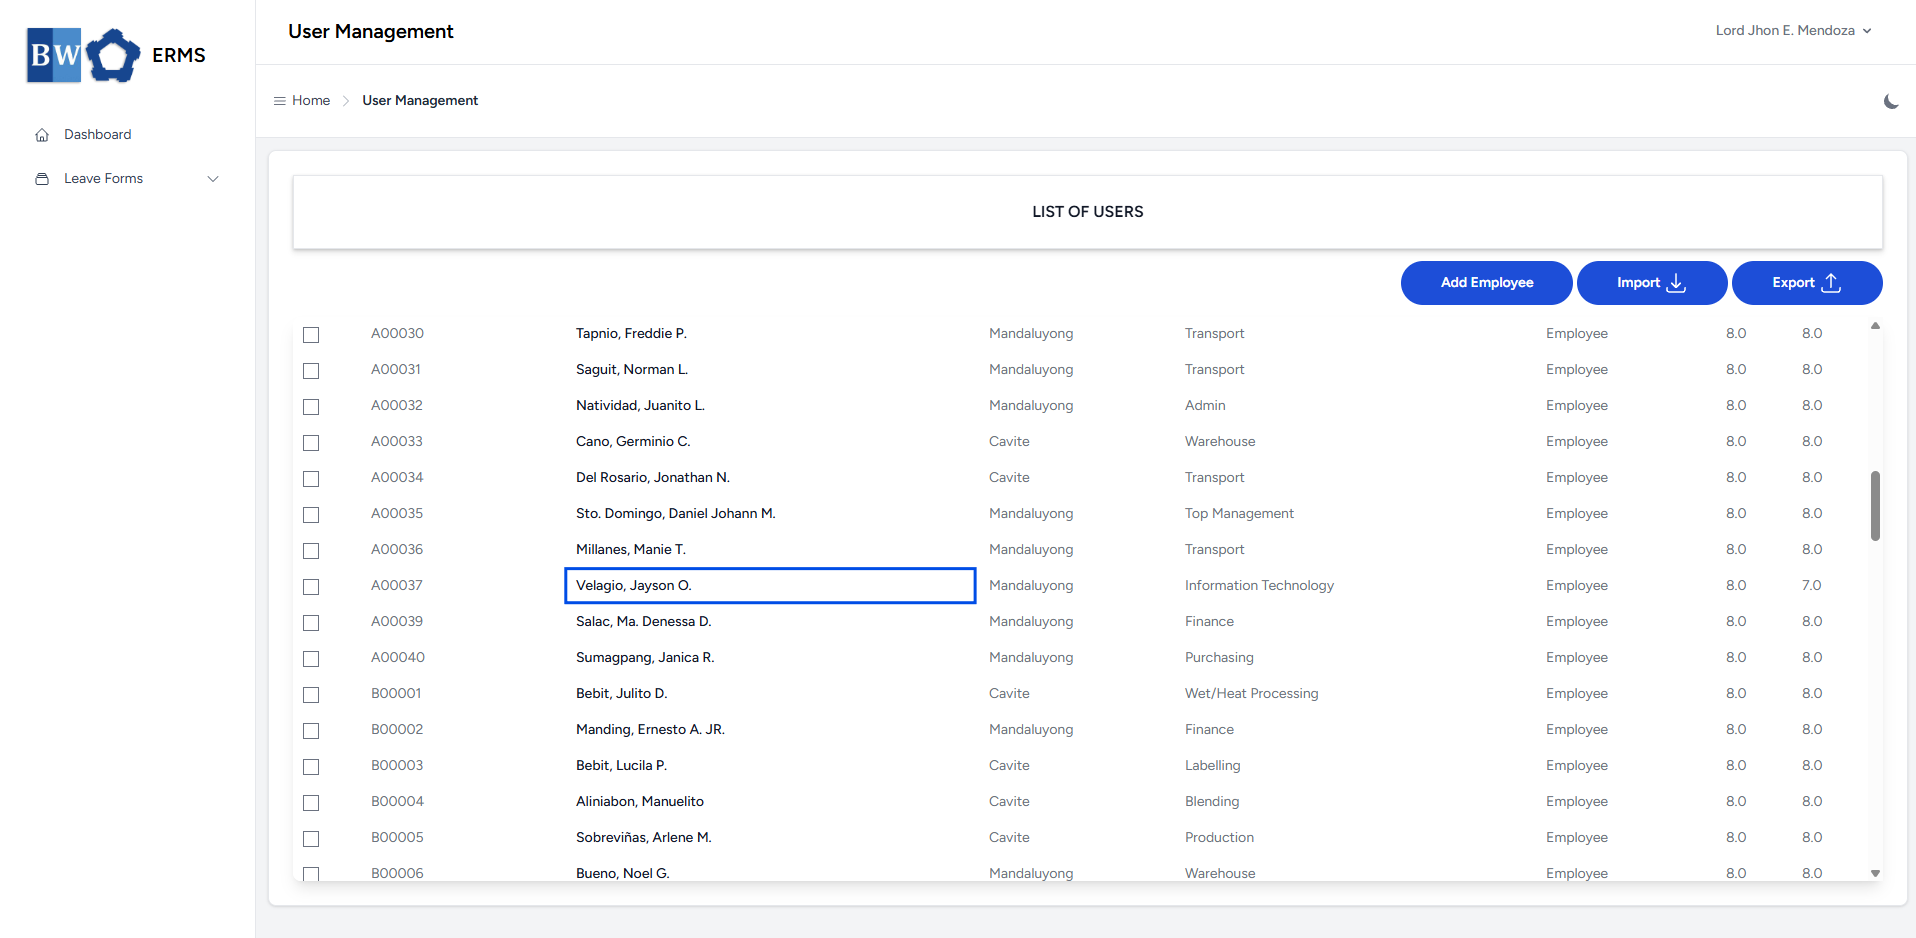
Assigning Approver
This section provides a clear and complete guide on how to access Position Management as a HRIS Admin, outlining the steps and responsibilities involved.
To access the User Management page:
-
Click your name at the top right corner of the screen.
- A dropdown will appear, where you can find the User Management option. Click it.
- It will open the User Management page.
- On the User Management page, click a user's full name in the row to edit their details.
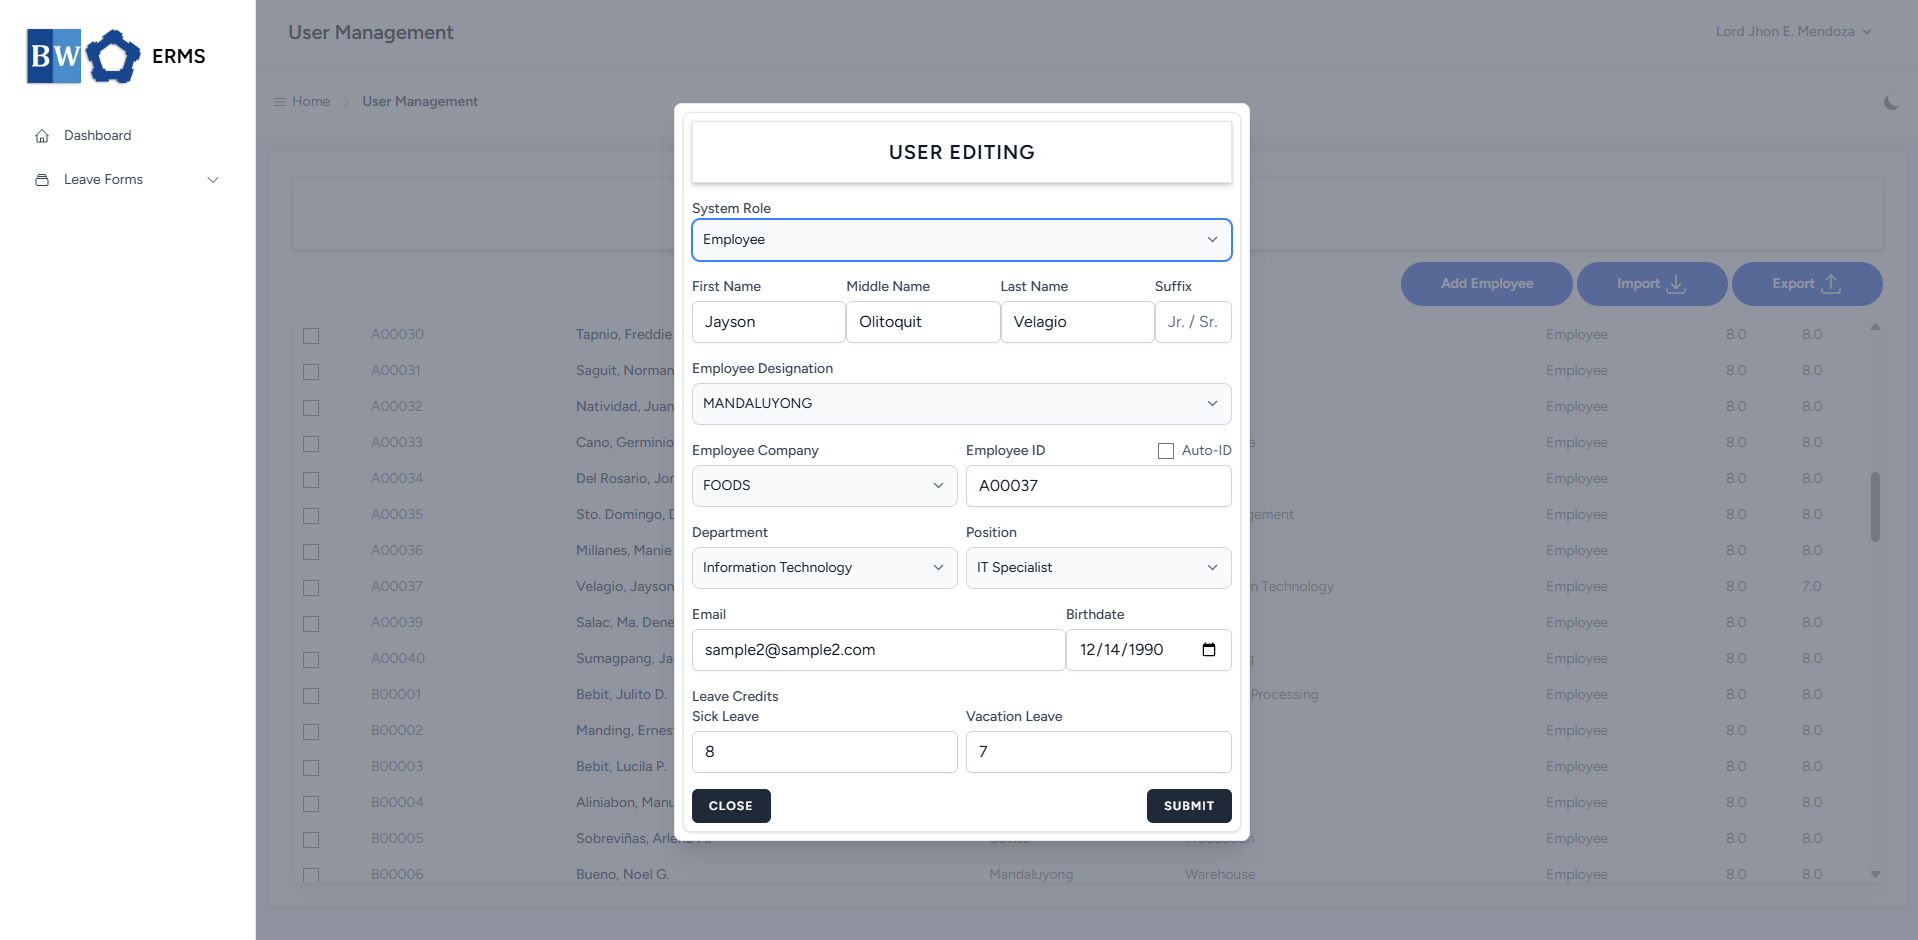
- Fill out the required fields, then click Submit.
- Note: Employee ID must be unique and not duplicated.
- After submitting, a notification will appear saying that the User has been created. The created user will be added to the list.